Frame building
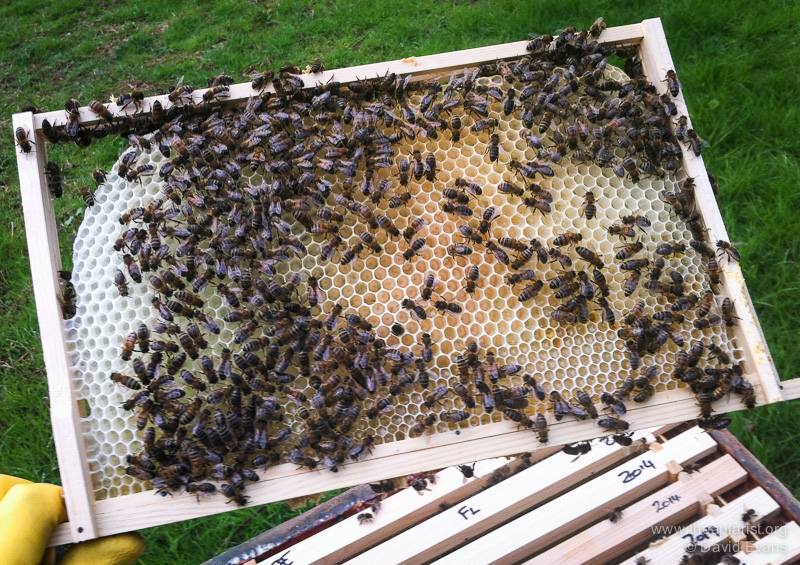
Beautiful …
It’s 3-4 weeks until the first full hive inspections (around about when the ornamental Ribes starts flowering) … after that it’s startling how fast the season takes off. I’m never as well prepared as I should be and often run out of frames and have to build them on the day they’re needed. This doesn’t make for relaxing beekeeping and is something I hope to avoid this season.
Brood frame replacement
The recommendation from the National Bee Unit is to replace at least one third of brood comb a year (The PDF disappeared - like so many others - in the NBU website reorganisation by Keep 'em guessing, Inc.). Unless brood comb is nearly unused – for example, frames that have only had stores and/or pollen in – I usually try and replace it more frequently than this. This helps prevent the build-up of pathogens such as Nosema. In addition to fresh floors, many of my colonies will therefore also be getting either a Bailey comb change or will be ‘treated’ to a shook swarm early in the season. This ensures they are on new, fresh, disease-free comb and gives them the best possible start to the year. This means another 11 frames are required for every overwintered colony. Furthermore, because I’m concentrating on making nucs this season I’m going to need even more frames than usual.
Remember to keep a few empty old dark brood frames for your bait hives. Keep the wax moths away by freezing them, using DiPel or wrapping them up securely.
Reusing old frames
Old frames can be reused if sterilised. I use a homemade steam wax extractor to clean them up and then scrape away any remaining old propolis. After 15-30 minutes in boiling steam they should be sterilised. The frames look a bit tatty but are perfectly serviceable. Foundationless frames need re-‘wiring’ (actually fishing monofilament) as it tends to lose tension in the heat.
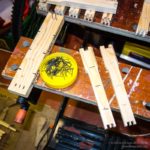
I’m gradually switching over to predominantly foundationless frames (as they did so well last year) so also needed to prepare more sidebars – if you drill them in pairs and then put staples/nails into each of the pair (to take the tensioned nylon) it speeds the entire process … but nothing like as much as using a nail gun for assembly. I also now use wood glue on the joints, leaving just one bottom bar unglued and held in with gimp pins. This makes disassembly after steaming easier and means the frame can be used with a full sheet of foundation if needed.
Less foundation …
I’ve not got round to making my own foundation starter strips this year. Instead, I’ve bought unwired brood foundation. A single sheet is easily sufficient for 10 frames and could probably be eked out further. At Thorne’s full price for premier quality unwired deep wax, the small strip of foundation in a foundationless frame costs costs about 1p (and much less if your association has a co-operative purchasing scheme, or you trade-in recovered wax). Cost is certainly not a reason to delay brood frame replacement.
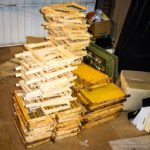
Frame building is quite therapeutic when you have a bit of spare time. The large pile of neatly bundled, slightly fragrant pine is gradually reduced as the tottering pile of assembled frames grows. It’s far better to do this on a cold, wet winter day with the radio and copious mugs of tea for company than rushing around in late May when you’ll have much less time.
Only another 120 to go … 🙂
- Frames from the steamer …
- 60lb 0.7mm mono …
- Drilling template …
- Paired end bars …
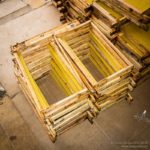
- Foundationless frames …
- That’s a start …
Join the discussion ...