Bread and honey
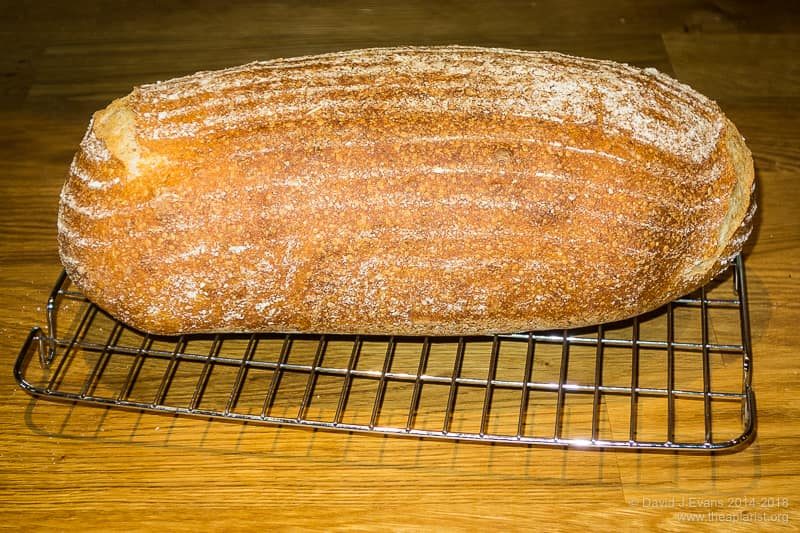
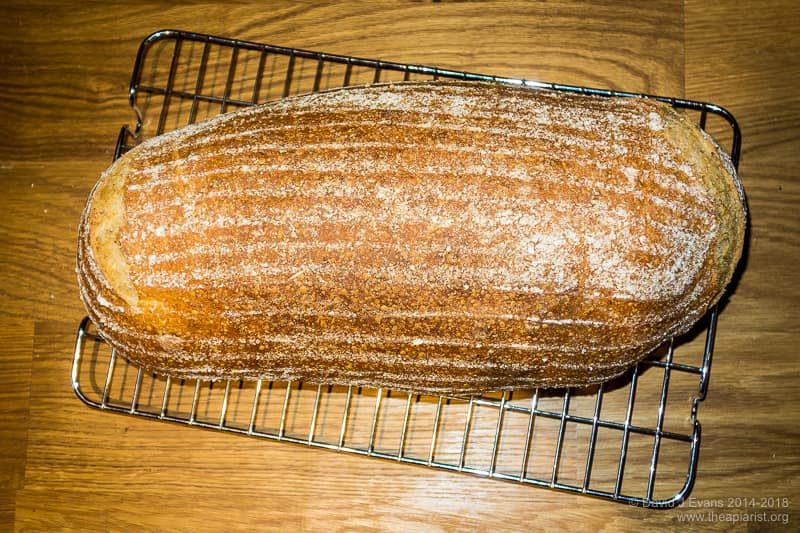
What goes better with honey than fresh homemade bread? Perhaps toast? You can buy excellent handmade bread in many places these days, but you can make your own very easily. I’m busy (aka lazy) so use a breadmaking machine for the mixing. It takes longer, but it’s less messy.
This is the recipe I usually follow. The superscripted notes are further down the page and explain certain parts in more detail.
Day 1
Make the starter1 by mixing the following on the dough setting:
- 225g very strong white bread flour
- 200g water
- ¼ teaspoon dried yeast
Once the dough cycle is complete (2-3 hours) don’t do anything at all … just leave it for 12-24 hours at room temperature2.
Day 2
Add the following to the starter and mix on the dough setting in the early evening3:
- 275g strong bread flour (100% white or a mix of white and wholemeal4)
- 25g rye flour
- 1½ teaspoons of salt
- ½ teaspoon of honey
- ½ teaspoon of dried yeast5
- 120g water
Once the dough cycle has finished (2-3 hours) tip the dough out onto a lightly floured surface, shape and place into a floured rattan proving basket6. Cover with a floured cloth or lay a piece of clingfilm over the top7. Place the dough into the fridge to rise overnight.
Day 3
Take the risen dough from the fridge and leave somewhere warm for an hour or so to get to room temperature. Preheat the oven containing a baking stone or an upturned heavy metal tray8 to 240°C.
- Turn out the risen dough onto the stone and throw a quarter cup of water9 into the bottom of the oven. Try and do this without losing too much heat from the oven.
- Cook for 10 minutes10 at 240°C and then reduce the heat to 160°C and cook for a further 25 minutes
- Remove from the oven and cool on a wire tray
- Eat11
Notes
- This sort of wet, pre-fermented starter is more correctly called a poolish, a word unsurprisingly derived from the word Polish and widely used in French baking.
- I just leave it in the breadmaker. No need to do anything with it at all. During this initial period the wet dough rises and collapses again. This contributes to the rise, the crust, the flavour and the moist crumb in the final loaf.
- Early evening because you have to turn the dough out at the end, shape it and leave it to rise in a cool place. Don’t simply forget it or the dough will push open the lid of your breadmaker (been there, done that).
- The more wholemeal you use the heavier the final loaf. I usually use between 50 and 100g. You do need to use strong bread making flour; Waitrose Canadian flour is good (though not obtainable in Fife) and Amazon sell Becheldre Watermill stoneground flours.
- Keep the salt and the yeast separate before mixing as salt inhibits yeast. Some breadmakers have yeast dispensers built into the lid for this reason.
- I use circular or rectangular Banneton proving baskets. These need to be heavily floured before use.
- Don’t wrap the dough tightly. It will rise a surprisingly large amount overnight at 4°C.
- The stone or tray does not need to be floured. Some people use a large piece of thick slate or a suitable-sized garden flagstone. These have the advantage of retaining heat when the door is opened, but the oven takes longer to get to temperature. I use a very thick upturned baking tray.
- The water generates a steamy atmosphere which helps generate a good crisp crust.
- To generate a thin and crisp crust you need a combination of high temperature and a steamy atmosphere.
- If it’s not eaten at the first sitting then this bread keeps pretty well and is excellent for toast, particularly once it’s a day to two old. It can also be sliced, frozen and then toasted directly.
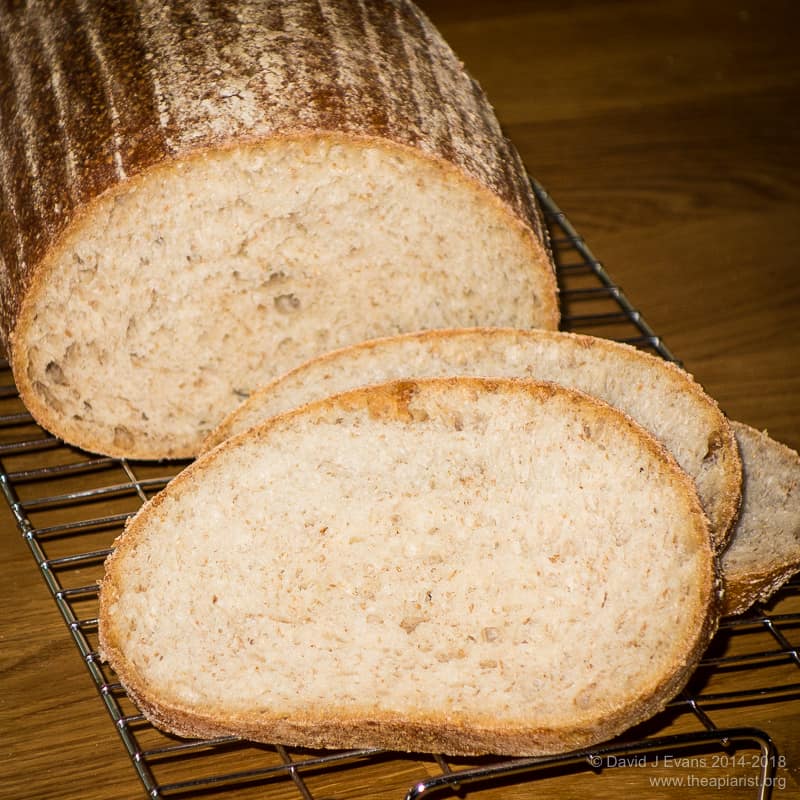
Bread made like this is totally different to the mushy cardboard-textured white ready-sliced loaves from the supermarket and is much better even than the standard recipes for breadmaking machines. The latter are usually risen fast and end up with a rather bland texture and taste. I think the key differences that contribute to the improved flavour, texture and keeping quality are, a) a long, slow rise using a pre-ferment, and b) use of much less yeast than normal recipes.
Although it might take 48 hours from start to finish, it’s time well spent. The actual work involved is very limited – a few minutes to weigh the ingredients out on days one and two, a couple of minutes to shape the loaf and the time it takes to put it in the oven. The only critical timings are for cooking and the times indicated above are what works in my electric fan oven.
References
The recipe above is similar in quantities, but with additional steps, to the Pain de Campagne recipe in Bread Machines and Beyond by Jennie Shapter (now out of print). There are a wealth of excellent books on making bread, most of which are beautifully illustrated as well as being filled with inspirational recipes. I can recommend these for starters:
- Bread: River Cottage handbook No. 3 by Daniel Stevens
- Brilliant Bread by James Morton
- Richard Bertinet’s excellent books Dough and Crust
- Flour, water, salt, yeast: The fundamentals of artisan bread and pizza by Ken Forkish
Of these, Bertinet’s Crust and the book by Ken Forkish are both primarily about sourdoughs which involve keeping a live starter, a process that involves a bit more of a commitment than the recipe above. I’ll post something about sourdoughs sometime in the future.
I’ve just realised that – other than the half teaspoonful added – there’s no mention of honey on the page. Suffice to say this bread is excellent with honey or, as toast, with honey marmalade.
Happy baking 😉


Join the discussion ...