Building frames

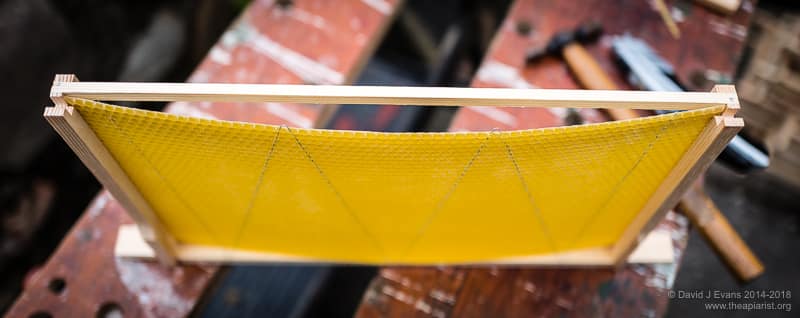
Foundationless frames …
There’s something repetitively rewarding about building frames for the season ahead. It’s an activity I now tend to associate with early season rather than midwinter, mainly because I have to build them outdoors and it’s simply too cold or wet most winters (a misplaced hammer blow on a really cold fingertip is excruciatingly painful). Since moving to Scotland I don’t have the luxury of a garage/den and the bee shed has no power supply. I could build them indoors, but the incessant nailing/hammering can get a little wearing for other members of the family (as has been made very clear to me). Secondly, it’s the sort of activity that needs a little preparation – both in terms of collecting together the necessary tools, frame parts, nylon, nails, staples, foundation etc and organising them to be close at hand and in the right order during the building process. Good preparation goes a long way to making for a quick and efficient frame building. Finally, it’s repetitive and rewarding – repetitive because I usually set up to make 50-100 at once and rewarding because I get better at it the more I do in any one session. By the time I’m through the first couple of dozen I’m fairly whizzing along, with relatively few nails going awry or frames ending up askew. It’s actually doubly rewarding as the more I do before the season gets into gear the less last-minute panicky frame building will be needed mid-season.
How many?
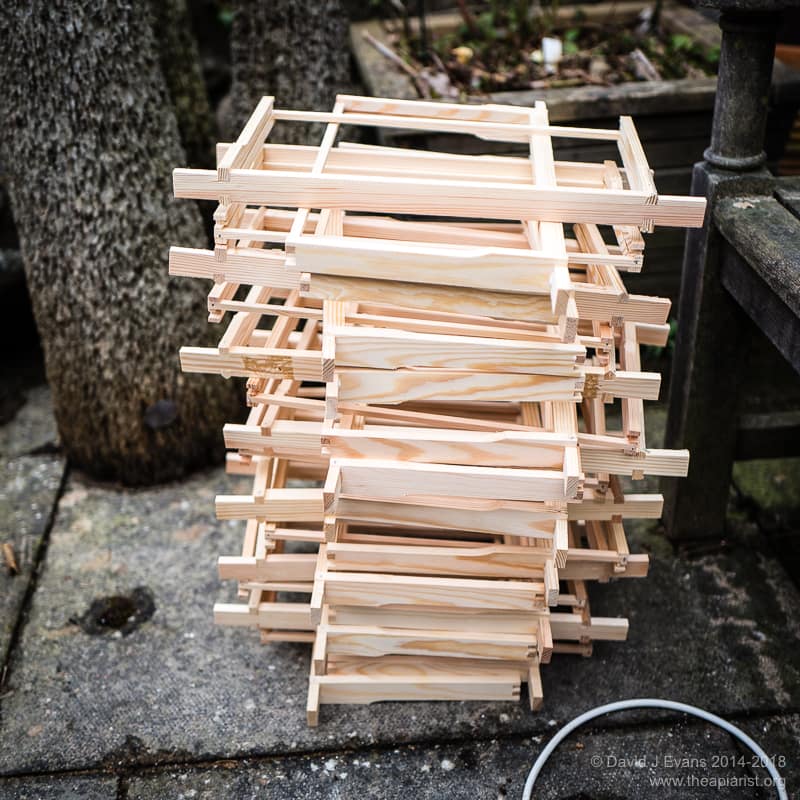
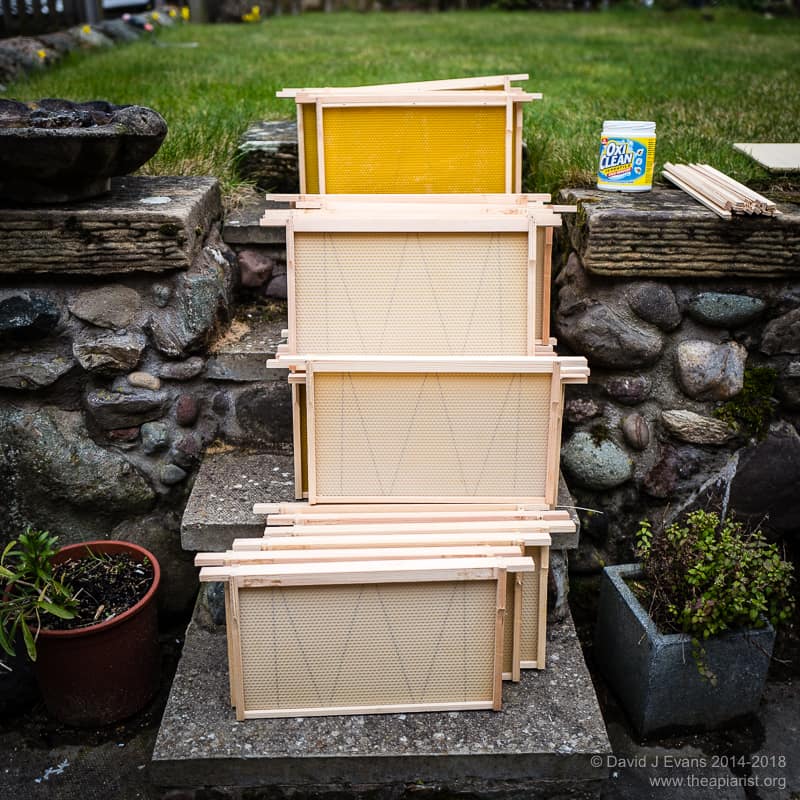
Assembled frames …
Last weekend I built ~100 brood frames, approximately a 50:50 split between foundationless frames and those with a full sheet of foundation. This, together with about half that number of ‘leftovers’ from last year and some yet-to-be-built super frames for cut comb, should be enough to get me through the season. Remember that although super frames can generally be reused for years it is recommended that brood frames are replaced at least once every three years, usually by rotating out one third of the frames during the season and replacing with fresh ones. With about a dozen hives that means I can expect to use ~40 frames per year for replacements alone. In addition to those I need some for bait hives – for which I almost exclusively use foundationless frames for reasons I’ve previously discussed – together with sufficient frames for the nucs I expect to raise for sale or overwintering. Finally, almost all swarm control procedures (like vertical splits) will require additional frames. Far better there are sufficient in advance of the season than having to scrabble around at the last minute. Been there, done that ?
Tools of the trade
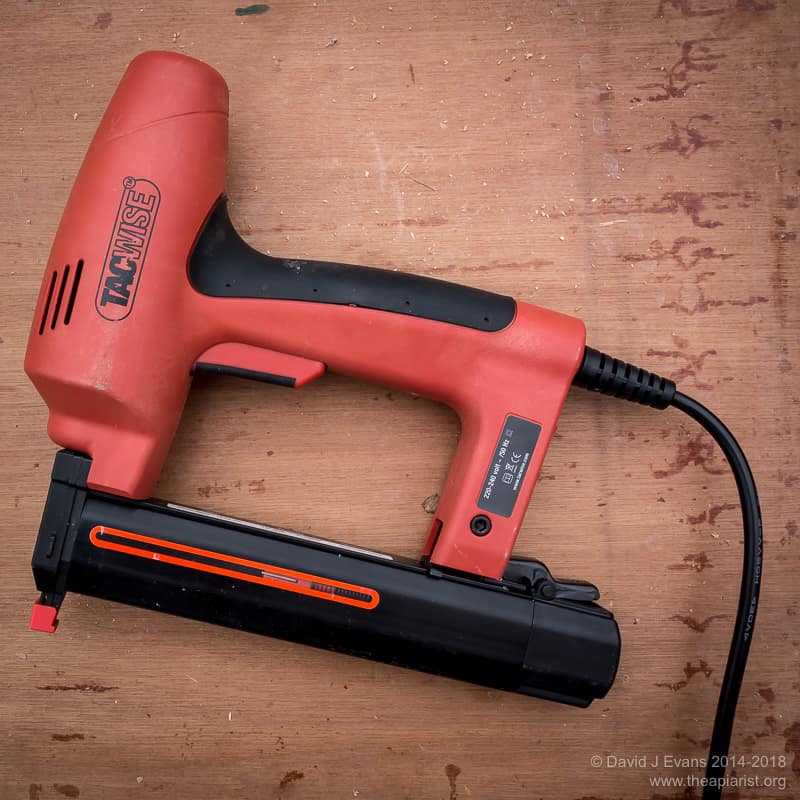
Tacwise nail gun …
For a handful – or hive full – of frames a small hammer and gimp pins will do the trick just fine. It’s a beekeeping right of passage to get reasonably competent at this … and also a component of the BBKA ‘Basic’ certificate. However, significantly more than that and you’d be wise to invest in a nail gun. It turns frame building from a somewhat unpleasant, finger-punishing chore into a semi-automatic, smoothly efficient, digitally-undamaging experience. Honestly … your first 50 frames with a nail gun is one of those Archimedian “Eureka” moments that so rarely happens with beekeeping (though a huge prime swarm descending into your carefully-placed bait hive comes close). I’ve discussed foundationless frames at length before so won’t repeat myself here. However, it’s worth noting that an upholsterers staple gun – for example a Tacwise 140EL – together with a few hundred Arrow 8mm stainless steel staples is the easiest way to protect the softwood side bars from the taught monofilament support ‘wires’. These staples withstand the rigours of the steam wax extractor, allowing the frames to be re-used after extraction, though the monofilament stretches and does need replacing.
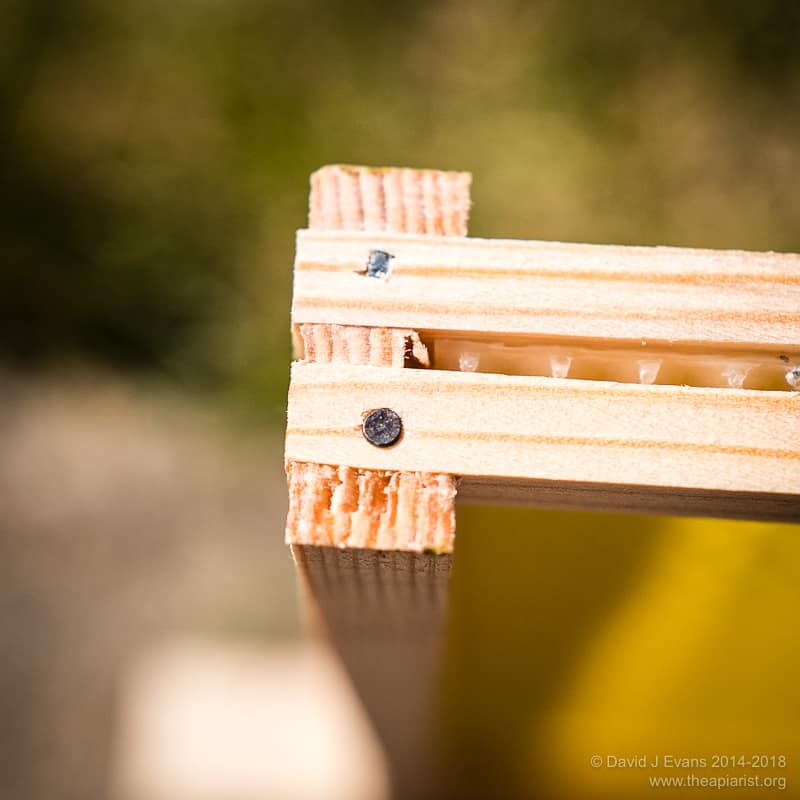
One nailed and glued …
For the last year or two I’ve also glued my frames. More specifically I’ve used a dab of waterproof wood glue before using the nail gun to join the side bars to the top bar and to join one of the bottom bars on. The second bottom bar – the one on the same ‘face’ of the frame as the removable fillet in the top bar – isn’t glued in place but is instead simply nailed on with a couple of gimp pins. That way this bottom bar can simply be pried up when taking the frame apart – having extracted the wax using steam – before adding a fresh sheet of foundation.
Kerchunk …
I do frames in sets of ten, laying out the top bars all orientated the same way (having removed the fillet and dumped them in a ever-growing pile next to me … don’t misplace these as you’ll need them when adding foundation which might happen much later in the season), add a dab of glue to either end where the side bars are attached. I then push side bars onto each, using a swift tap with the hammer to seat them properly, before placing them down top bar down, again all orientated the same way, adding more glue and one of the bottom bars. Since they’re all oriented the same way round there’s no need to check – after the first – which of the two bottom bars is the correct one to add. Then it’s a simple case of kerchunk, kerchunk, kerchunk, kerchunk, kerchunk, kerchunk with the nail gun, a quick eyeball that everything’s straight and true and onto the next frame. Well under ten minutes for ten frames plus a bit of tea drinking time. The ‘wiring’ of foundationless frames (which should be monofilamenting as that’s what I use but it sounds nonsense and isn’t a real word) takes appreciably longer than putting the frames together.
Foundation
I still have to attempt to make my own starter strips for foundationless frames. I know how to and I’ve got the wax … what I don’t have is a deep enough heated container to melt the wax in. Until I get round to resolving this I purchase sheets of unwired brood foundation and cut it into 1-1.5 cm strips which are then inserted into the wired frame in the normal manner (after adding the monofilament as previously described).
Thorne’s premium …
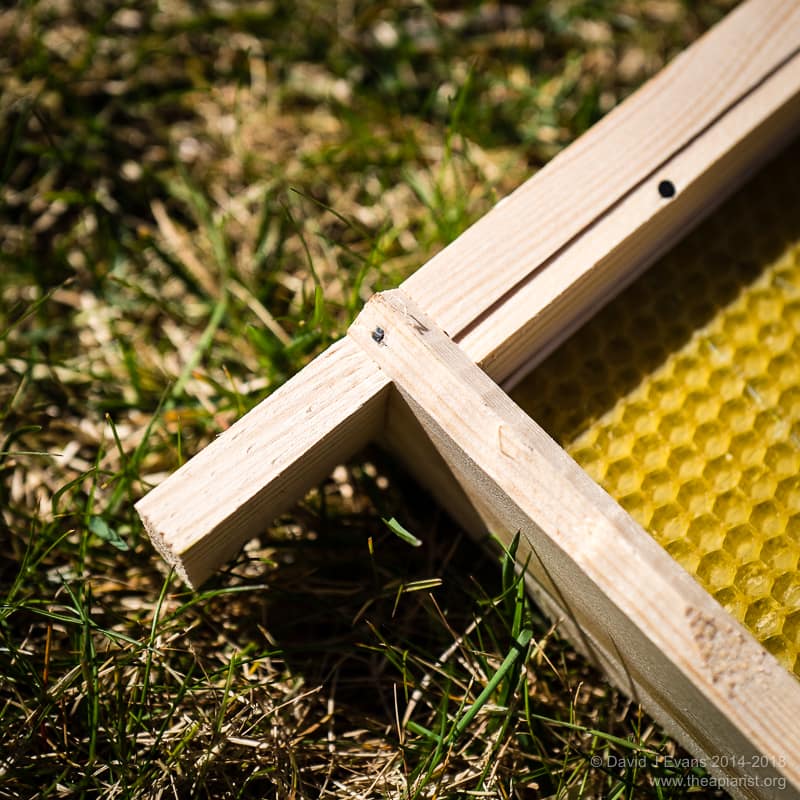
It’s best not to work with foundation if the weather is too cold as it gets very brittle. This year I used up my old stocks of foundation from Kemble or Maisies, and started using a few packets of Thorne’s premium foundation. Irritatingly the latter was a couple of millimetre over-width, meaning that every sheet had to be cut down. Not the end of the world I accept, but nevertheless irritating. The old Maisies or Kemble stuff fitted perfectly. In the photo below it’s the near-white sheets covered with a wax ‘bloom’ … it’s still perfectly usable but just needs to have a hairdryer run over each side to warm it through to restore it to it’s fragrant best.
New and old …
It’s then just a case of finding a suitable place to store all these prepared frames and having a little more patience for the start of the season.
Join the discussion ...