Completely floored
It’s still too cold to undertake a full hive inspection (it might not be with you as I discussed last week) but one task that should take place in early Spring – whatever the weather – is cleaning the hive floor.
Knee-deep in corpses
Bees knees anyway.
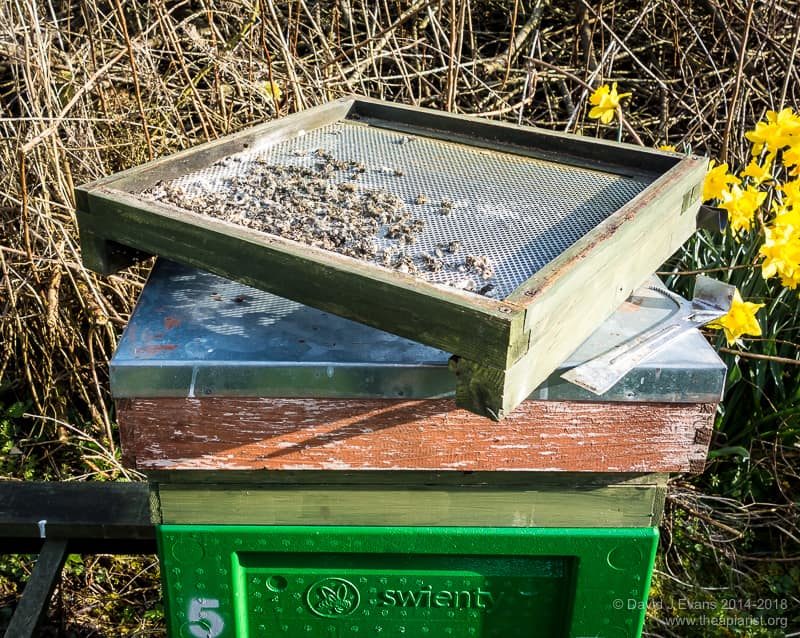
During the winter the colony is much less active. Low temperatures mean there are few opportunities for workers to drag out and dispose of the corpses of their half-sisters. Consequently, depending upon the attrition rate (which in turn is at least partly dependent on the level of virulent strains of DWV in the colony), a layer of dead and increasingly foosty bees can build up on the hive floor.
On open mesh floors this usually isn’t a major problem. On solid floors, particularly when there’s a bit of damp as well, it can get pretty unsanitary. Whatever the floor type, in due course the bees will clear the floor once the season has warmed sufficiently. However, cleaning and replacing the floor is a 30 second task that causes very little disruption and gives the colony a hygienic start to the season.
(Almost) smokefree zones
Place a cleaned floor adjacent to the colony. Gently insert the flat of the hive tool between the floor and the bottom of the brood box and make sure they’re separate. Often this joint isn’t heavily propolised (in comparison to the crownboard) and is easy to split. Lift the brood box and gently place it onto the adjacent clean floor, remove the old floor and slide the colony back into the original position. The entire process takes longer to read than to complete.
You can replace the floor without smoking the colony, particularly on a cool day with little hive activity. However, a very gentle waft of smoke across the entrance will push the bees up and out of the way. If you’re quick, gentle and use a tiny puff of smoke it’s possible to swap the old floor out without a single bee coming out to investigate things.
A clean start
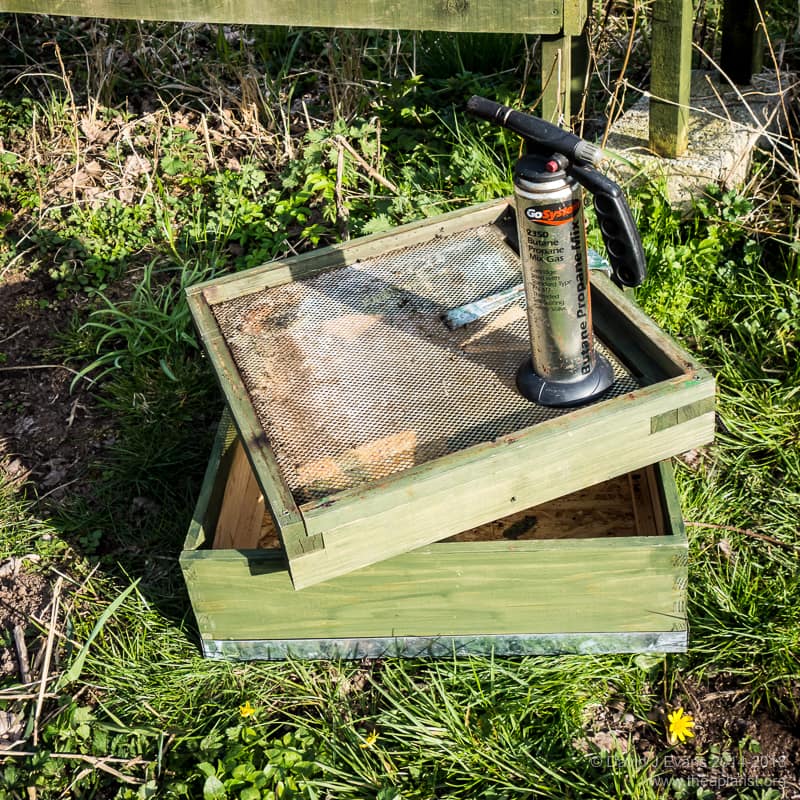
The removed floor needs to be cleaned. Scrape away the corpses with the hive tool. Assuming the floor is wooden, with or without mesh, it can then be scorched with a blowtorch before being pressed back into service. If the floor is poly the blowtorch is not advisable ? After scraping off the lumpy debris it needs to be scrubbed thoroughly with a strong washing soda solution.
In a busy apiary it’s possible to spend a happy hour or so removing, scraping, scorching and replacing in a cycle, meaning that you only need one additional floor than the number of hives.


Join the discussion ...