Entrances and exits
Over the course of the first full season using the bee shed the access to the hives – for the bees, not the beekeeper – has been simplified and improved. The current versions appear to work well and provide the necessary security and ease of use – for the beekeeper, not the bees ?
General principles
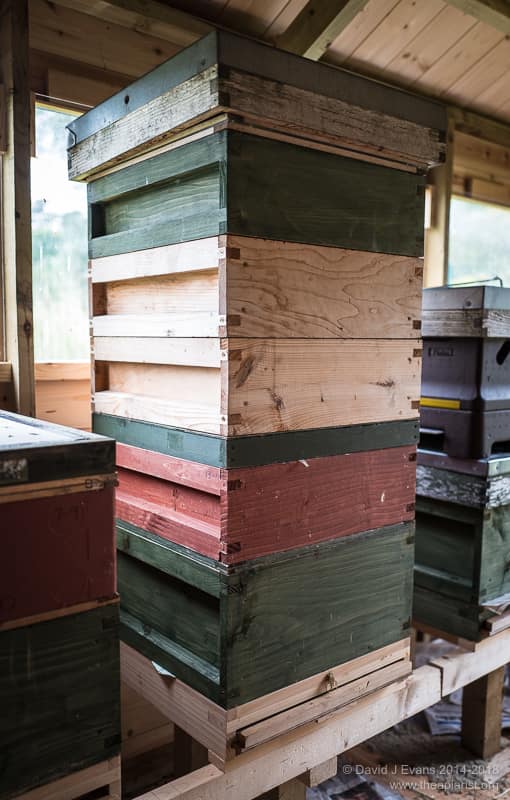
The bee shed houses nucs and full colonies. The space available allows a maximum of two nucs and four full colonies arranged down one side of the shed. There’s additional space for 3-4 more nucs on the opposite side of the shed that is not currently used. In retrospect I should have purchased a shed twice as long (24′ not 12′) for flexibility, storage and to have more space to work in.
Sometimes the full colonies need to be replaced by nucs so the entrances have to be compatible. In all cases the bees access the colony, or leave the shed depending upon the direction they’re travelling, from an unmodified hive through a hole in the wall. Therefore there needs to be a bee-tight interface between the wall of the shed and the front of the hive (or nuc). Without this there’s a chance the shed will fill with disorientated bees.
What I’ve learned this season is that compatibility and flexibility are at least as important as security. It’s possible to build reasonably effective and secure interfaces without having everything tightly interlocking, screwed down or immovable. A combination of the weight of the hive, coupled with careful inspections, are sufficient to keep the colony in place.
In an ideal world …
Clearers on …
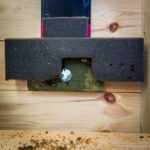
… the simplest way to provide access would be to push the face of the hive flush against the shed wall through which a hole had been cut at the right height from the ground. This would work perfectly, be bee tight, not require any hive modifications and be fully interchangeable. However, as the season progresses supers are added and these would also have to be placed flush with the shed wall. The first problem is that, without serious modification, the shed windows get in the way (see the image on the right). They almost always have an inner sill of some sort. The second problem is that having the hive tight against the wall reduces the space for frame or hive tool manipulation and makes returning supers more difficult. Finally, pushing the brood box and supers flush against the wall would prevent the use of a hive roof.
Of course, since the colonies are in a shed the roof is not required for weatherproofing … but it’s essential to provide a safe place to stand the smoker as it cools down. All other surfaces are wood or Correx and I don’t want to burn the shed down.
Open wide …
The required interchangeability with nucleus colonies raises two additional issues. Firstly the poly nucs I use (Everynucs) have an integral 2cm ‘landing board’ in front of the cavernous entrance slot. Pushing them ‘flush’ to the shed wall leaves a big gap. Secondly, the height of this entrance slot is not identical to the hive floors I use. I could build alternative floors or buy other nucs, but instead came up with a solution that saved me doing either (and since I have more invested in nuc boxes than the shed itself this made economic sense as well) and solved the problems with hive manipulations and adding supers.
A pragmatic solution …
Ducting …
… required that the hives were separated from the shed wall by a short tunnel built from some spare rigid extractor fan ducting. In the original design this was carefully shaped to fit neatly into the entrance slot of the hive, with the remaining front of the hive blanked off and blocked with an equally carefully shaped piece of Correx. This worked well … until the hive needed to be moved, or was inadvertently nudged during hive inspections. A partial solution was to screw the hive floor to the stand with L-shaped brackets. Although this prevented the accidental movement it made deliberate hive exchanges a right pain.
Ducting …
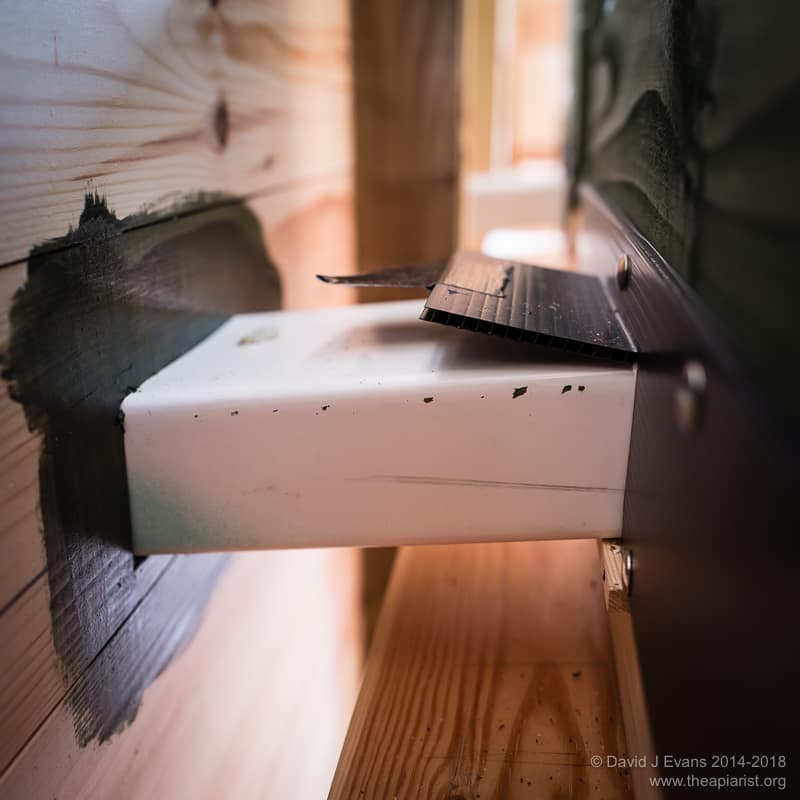
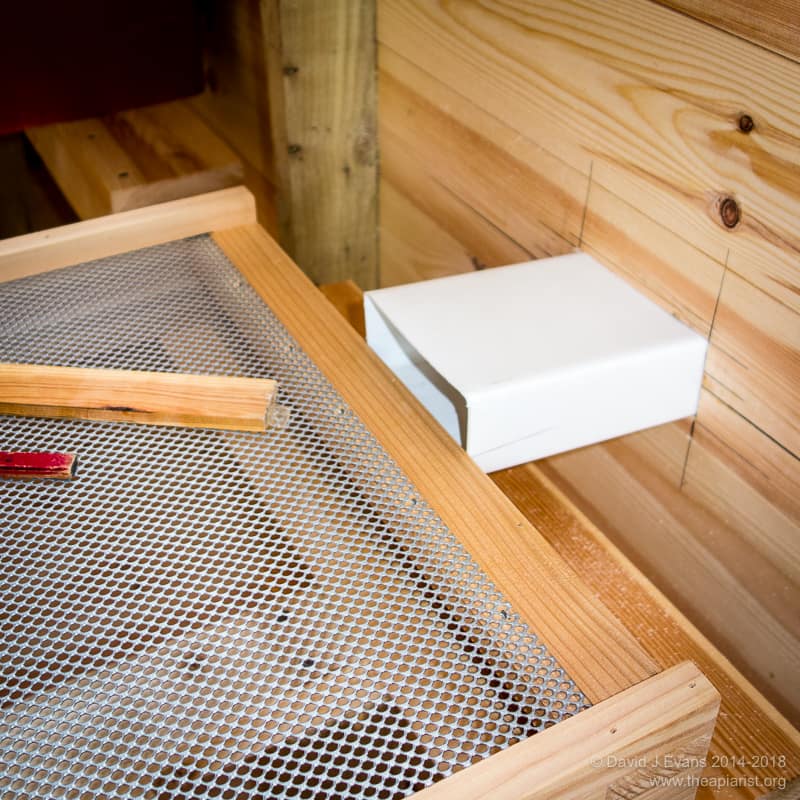
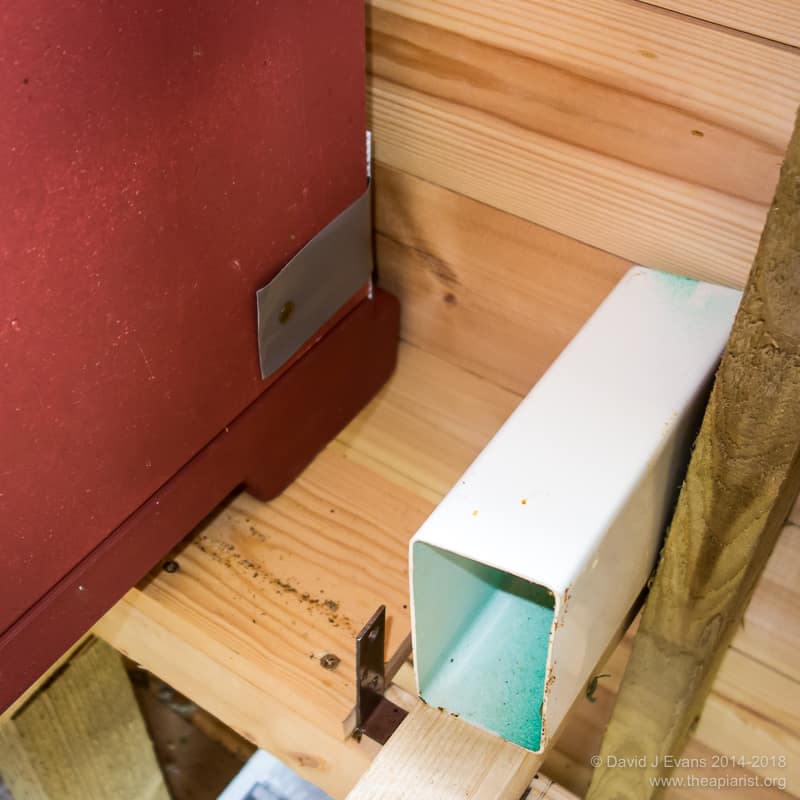
It turns out that a far simpler solution is to have a simple flush-fitting piece of ducting (angled slightly upwards to prevent water ingress). One end is wedged into the hole in the shed wall, the other is butted up against the face of the hive. The remainder of the hive entrance slot is blocked with a standard entrance reducer screwed in place to the hive floor (not shown fixed in the picture on the right). This works a treat. The hive is heavy enough to not shift about unless deliberately moved. If I need to move it I can just pick it up as I would any other hive (i.e. carefully and with a lot of wincing).
The nucleus solution
Foam entrance block …
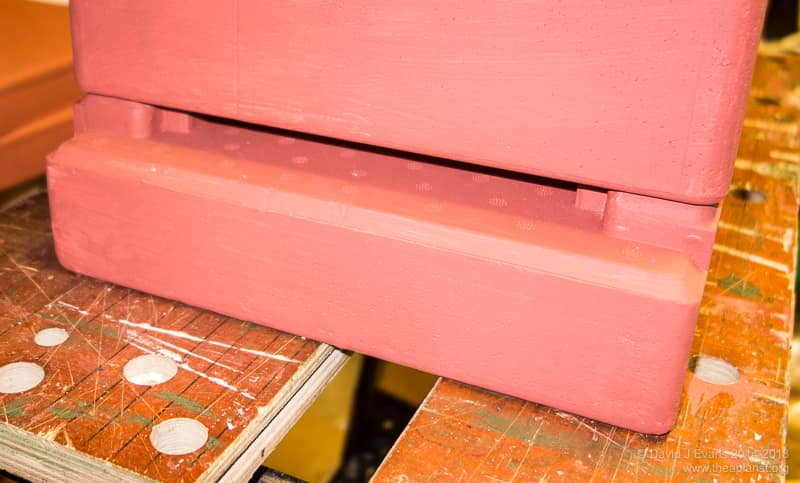
Because of the landing board these are actually easy to push flush to the shed wall, which still leaves just about enough space for frame manipulation and getting the roof on and off. I originally discussed using a small block of foam with a small arch cut into it to allow the bees access to the wider world. It turned out that the bees quickly chewed through some of the original foam blocks I used and, if the block was too small, they were difficult to reposition when moving the nuc boxes.
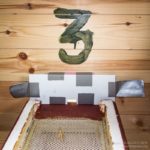
Correx and foam block …
I’ve recently started using an improved entrance consisting of a denser piece of foam strapped to a suitably sized Correx offcut (see picture right). The simple gaffer tape ‘handles’ allow this to be pinned to the hive body for security and make it easy to relocate when moving the nucs. I’ve stopped strapping the nucs to the shed wall to prevent them moving … there’s no need if you’re careful when inspecting them. I do usually have a strap holding the lid on. Largely because if I don’t it’s something else to locate when I want to move the box.
Pinned back ears …
If I need to replace a full hive with a nuc I can simply remove the ducting and push the nuc flush with the shed wall. Finally, the two dedicated nuc entrances in the shed wall can be blanked off using a piece of Correx placed into a sort of ‘holder’ on the inner wall. This turns out to be unnecessary and I’ve barely used it. If I need to block the shed entrance I simply stuff it with foam. Unsubtle, but highly effective.
Landing and drifting
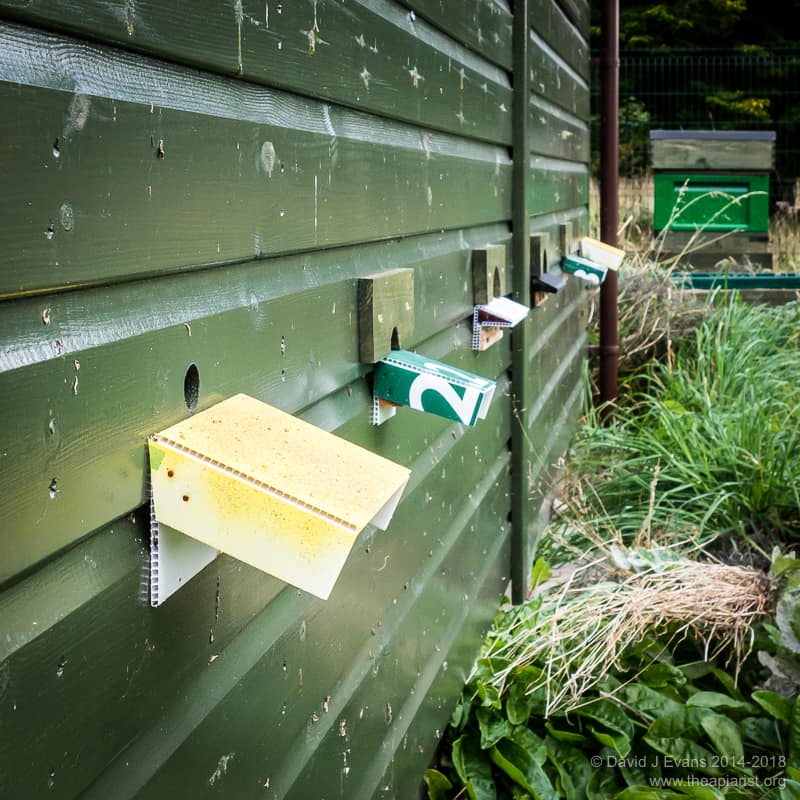
On the outside of the shed are a series of simple Correx landing boards in different colours to help the bees locate their own colonies. I’ve no evidence that this either reduces the level of drifting between colonies or increases the ease with which heavily-laden foragers return with pollen and nectar.
Landing boards …
However, even if the bees don’t find them useful, I like them.
Join the discussion ...