Even kewler floors
So-called kewl floors have underfloor entrances that are pretty-much rodent proof (so you don’t need mouseguards in winter) and are easy to seal when needed for transporting hives or administering vaporised oxalic acid. They are very easy and inexpensive to build. The last batch I built were all fitted with a Correx landing board that protruded a centimetre or so. It turned out that the ‘design’ (a rather grand word for the bodged solution I came up with at the time) was not ideal so I’m gradually replacing them with a modified version that corrects the worst of the faults of the original.
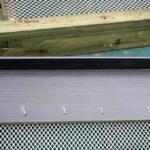
New Correx landing board …
The problem
- The protruding landing board inevitably got a bit bashed about when transporting colonies
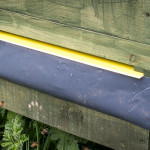
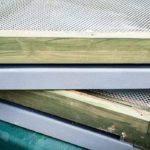
- The gap underneath the landing board disorientated bees who climbed up the hive stand or otherwise undershot. This was particularly noticeable when reversing colonies during vertical splits. I’d previously fitted a plastic ‘skirt’ to some hives to fix this (see pic below).
- The ‘edge’ of the Correx provided a narrow and slippery target for heavily-laded foragers returning to the colony. Many lost their grip and fell off into the grass before having a second or third attempt at entering the hive.
-
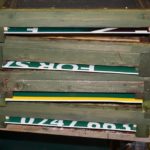
- Original design
-
- Kewl floor – fixed …
-
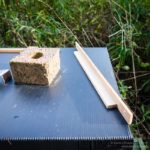
- Entrance block …
The solution
An L-shaped piece of Correx (of course), though this time not protruding, with a rough textured integral ‘skirt’ to block the gap below the hive entrance works well. To make an acute bend in Correx you need to make two parallel cuts through one skin and remove the intervening ‘rib’. This takes longer to write than to do. After stapling† the Correx in place I spray paint it and sprinkle sand onto the wet paint. You can use different colours to help orientate bees and minimise drifting. Alternatively, use multi-coloured ‘repurposed’ estate agent signs and a clear spray varnish of some type.
-
- Mark 2 landing board …
-
- Kewl floor and Correx landing board …
-
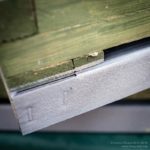
- Corner detail …
Other improvements?
The final change I’d intended to make to these floors was to add a second entrance on the opposing side. Some hive manipulations involve turning the colony 180° on the stand – these include vertical splits and using a Cloake board for queen rearing. Rather than manhandling the entire colony it would be much easier to seal off the front of the hive and open a hinged entrance at the rear (much like opening and closing the gates on a Snelgrove board). Unfortunately, this batch of floors were over-engineered, with the upper upper rim glued and screwed in place, so this modification will have to be introduced when (or if) I next build floors.
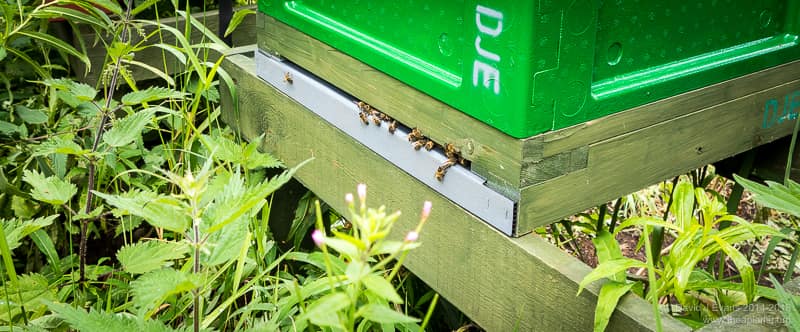
New landing board in action …
† The original landing board was held in place with gimp pins. Inevitably these had rusted which made removing them a bit of a pain. When replacing them I used stainless steel staples with the hope that this will make future removal of the landing board easier.
Join the discussion ...