Dr. Bodgit goes beekeeping
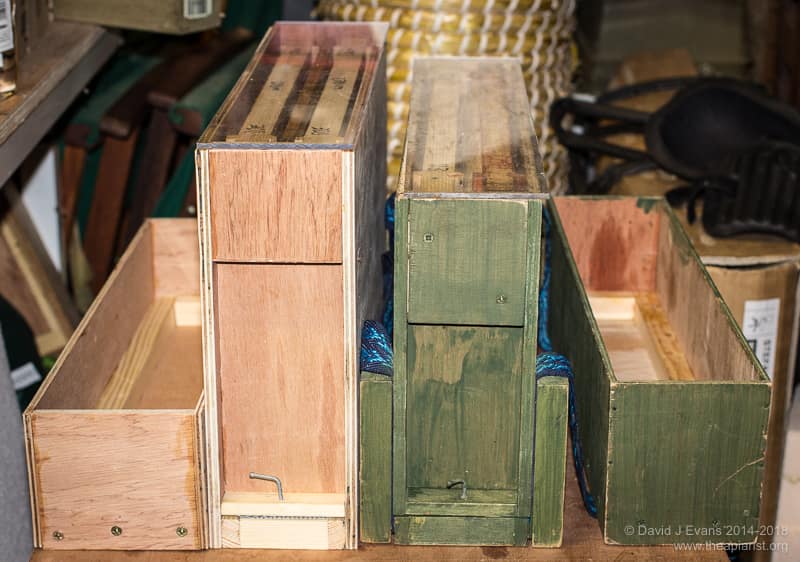
Two frame nucs …
Dr. Bodgit is the name my wife gives my alter ego … the bloke who spends the first few days each week nursing the cuts and gouges in his hands from a weekend spent butchering pieces of wood for beekeeping purposes. In a past life I was asked to talk about ‘DIY for beekeepers’ for the Warwick and Leamington BKA … something relatively lightweight to follow their AGM. As any BKA member knows, these are usually very tense events, with huge competition to get onto the executive committee … or not. That talk lead to an irregular Dr. Bodgit column in the otherwise excellent WLBK Bee Talk newsletter which in turn prompted me to start this website … if you go back to some of the early posts they were often about DIY for beekeepers. Now, a few years later, I’m dusting off the same talk for the Fife BKA at their 2016 AGM (10/3/16), updated to include a further 5 years of tips and tricks and a large amount of additional scar tissue.
Paynes poly nuc …
In the spectrum of beekeeping DIY – ranging from badly carving up a block of polystyrene for hive insulation to crafting beautiful cedar broods and supers from wood I’ve felled, matured, dried, cut and planed – I’m firmly positioned at the (rank) amateur end. Nevertheless I reckon there are a large number of items that can be easily, relatively inexpensively and usefully built – these both potentially improve your beekeeping (enjoyment at least) and give you something to do in the long, cold, dark winters.
Tools of the trade
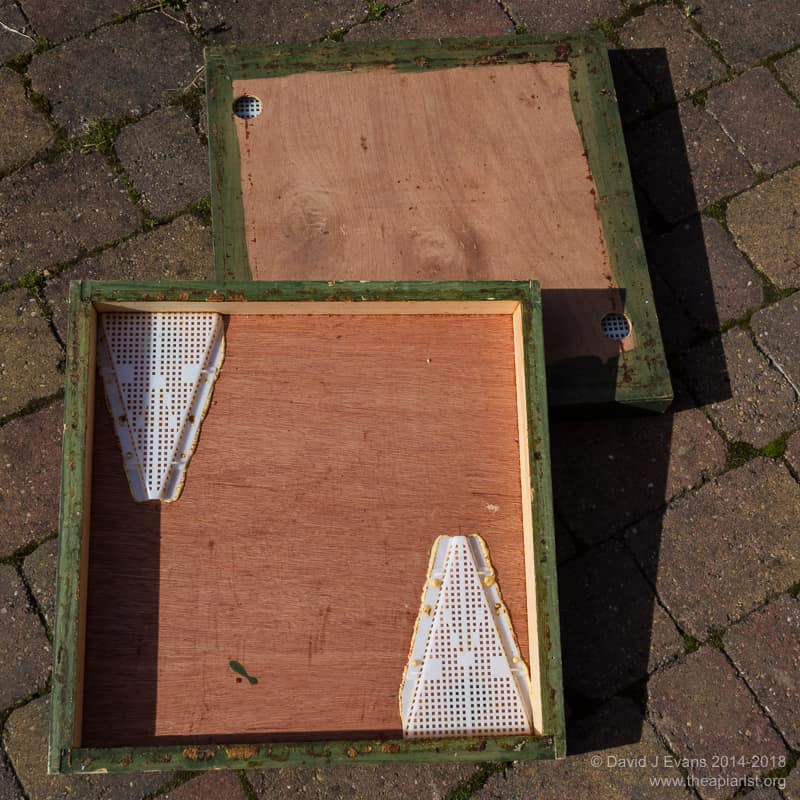
Clearer boards …
Over the years I’ve developed some fairly basic boundaries to the types of DIY I attempt. I’m restricted on time, space and very restricted on ability. Furthermore, since I don’t really trust myself with power tools I don’t own too many (though see below). Therefore the vast majority of the things I attempt can be constructed – a rather grand word meaning ‘bodged together’, hence Dr. Bodgit – using the sorts of tools most people already have available:
- cutting tools – a good tenon saw, a Stanley knife and a breadknife
- measuring tools – tape measure and set square
- joining tools – hand drill, screwdriver and small hammer
The breadknife is really for working with polystyrene – either carving insulation or butchering Paynes poly nucs to improve them. To these tools I’d add a list of ‘consumables’ that will need regular replacement:
- pencil for marking stuff – you will inevitably lose it … it’s behind you ear 😉
- screws – buy them in bulk from Screwfix in a couple of convenient sizes
- nails – almost exclusively the gimp pins for frame construction
- sticky stuff – Evostick wood glue, Gorilla glue and Unibond Power tape (for Correx)
- Elastoplast (though Unibond Power tape and tissues work well) and antiseptic cream
- tea – critical to keep hydrated properly … you might also need fruit cake
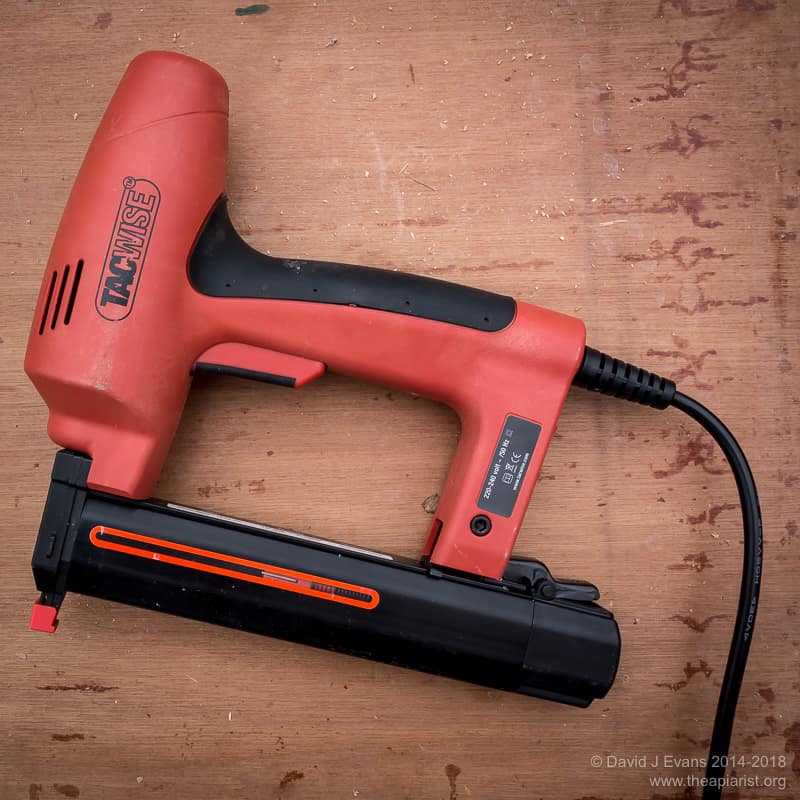
Tacwise nail gun …
The ‘joining tools’ is where I have gradually made concessions on power tools. A reasonable quality rechargeable electric drill/screwdriver is a huge timesaver and a nail/staple gun makes assembling everything from brood boxes to frames extremely easy (you’ll need to add nails/staples to the consumables list above). However, these power tools are a luxury and not a necessity. I’m also having to consider a table saw as I now no longer have an excellent local timber merchant (or anything but the big chain, big price, rubbish) who stocks a wide variety of ‘bee space friendly’ planed softwood. It’s only the affection I have for my fingers that’s stopping me …
Don’t do this at home

Don’t do this at home …
There are a number of things I think that are simply not worth attempting … these are items that are either already inexpensive, that are difficult to make without a lot of investment in tools or where it is difficult to make them at a quality good enough to justify the effort. In my view brood boxes and supers tick all three of these ‘exclusion’ rules … the cedar seconds are pretty inexpensive and readily available, they’re well made and go together easily and they should last pretty-much forever. I’ve made plywood boxes previously and wouldn’t do it again … too heavy and nothing like as long-lasting.
I don’t attempt any metalwork – other than the base of my steam wax extractor – but have heard of people making queen excluders, smokers and building their own honey extractors … again, hugely rewarding I’m sure, but needs too much time, tools and expertise than I have.
The art of the possible
I think the best things to build are those that meet one or more of the following criteria:
- items that cannot be purchased at all (there are lots of these)
- items that can be purchased but that are poorly designed and/or built (few of these)
- items that can be purchased but only for silly money (lots of these)
For me, considering hive components, it turns out that it’s the parts that are essentially horizontal in the hive that seem to most often meet these criteria. These include:
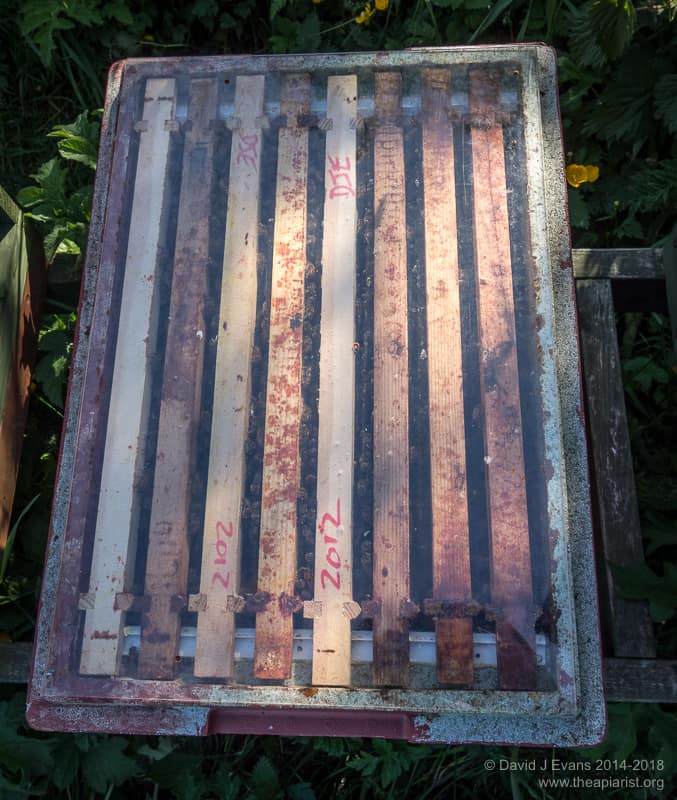
- Kewl floors – these are floors with a so-called ‘Dartington-type’ underfloor entrance. I think they offer advantages for the bees in terms of reduced robbing and wasp problems, and for the beekeeper by obviating the need for mouseguards and making transporting hives and vaporising oxalic acid easier. You can buy these from one supplier but the price is ridiculous and the design is sub-optimal in my opinion (so I’m not including a link).
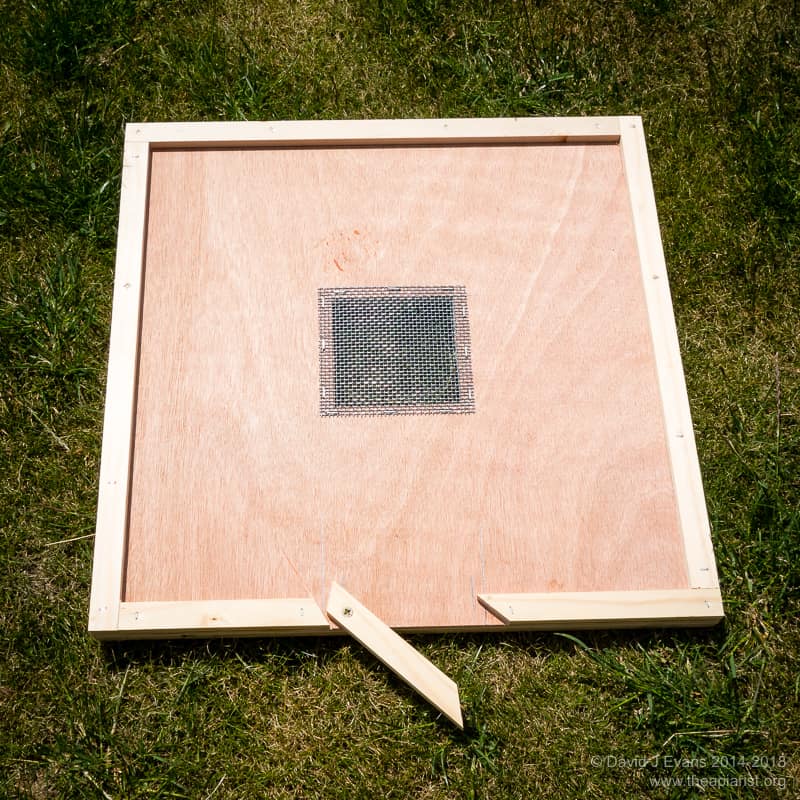
- a variety of split or division boards – these include conventional single entrance split boards, multi-entrance Snelgrove boards, slightly more complicated Horsley boards and clearer boards. I’d also include Cloake boards for queen rearing in this category. In all cases, these meet one or more of the qualifying criteria – some cannot be bought, those that can are not ideal and the prices are always simply daft. Thorne’s Snelgrove boards are about £35 each and can probably be made (better) for about a fiver … that’s one of my jobs for this winter. Their Cloake board is the same price. It does come with a queen excluder (but you’ve got lots of those already) but the shallow eke and Correx removable slide can be built from scavenged materials for almost nothing. There’s a very recent thread on the SBAi about building so-called ‘flight boards‘ from thick Correx for ~£2.70 each – these are dual entrance, dual-use, split boards which can be used as crownboards or used to divide strong colonies for swarm control or making increase.
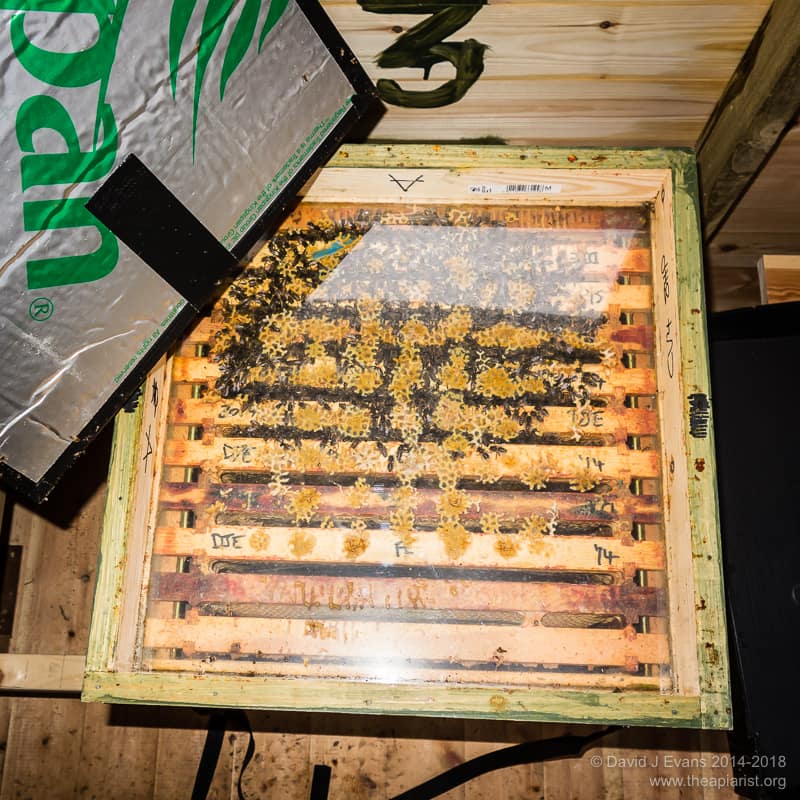
- perspex, insulated crownboards – unavailable to my knowledge (all of those for sale are uninsulated), very useful and relatively easy and inexpensive to build.
- inexpensive, totally weatherproof, lightweight roofs – these can be built from Correx for well under £2, less than 25% of the price of the metalwork alone from Beehive bits or about 10% of the price of the – disappointingly poor quality – Thorne’s sale quality cedar roofs.
-
- Split board …
-

- Perspex crownboard …
-
- Cloake board …

I only list Thorne’s above for convenience – their offerings are usually no worse or better (or differently priced) than any of the major beekeeping equipment suppliers. The second quality cedar broods and supers they sell at BeeTradex and the big annual shows are – with a little picking and choosing to avoid the terminally-warped (note that you’re well-advised to take care avoiding the terminally-warped at any of the annual beekeeping jamborees) – perfectly usable. Their first quality cedar broods, of which I have a few, are lovely (and so they should be at £42).
If you move away from hive components there are lots of additional opportunities for exploiting a little DIY skill and/or experiencing a little blood loss:
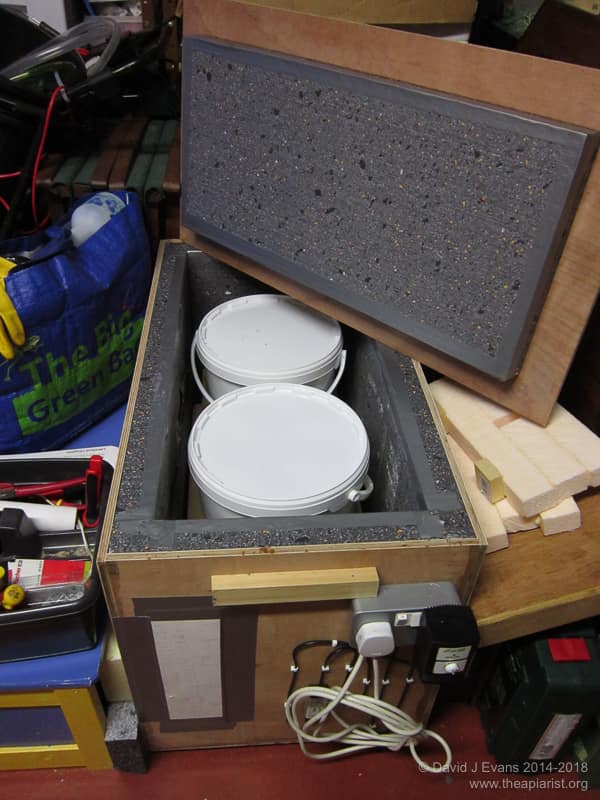
- my honey warming cabinet was first described on this site over two years ago and is consistently the most searched-for (and possibly even read) page. With a little careful planning you can build one that’s far better insulated than commercially available, with better thermostatic control and heat circulation, that will also treble up (is there such a term?) as a super-heater to aid extraction and as a queen cell incubator. If you source the individual components carefully you can build one for 25-33% of the prices listed by big T or Maisemore’s.
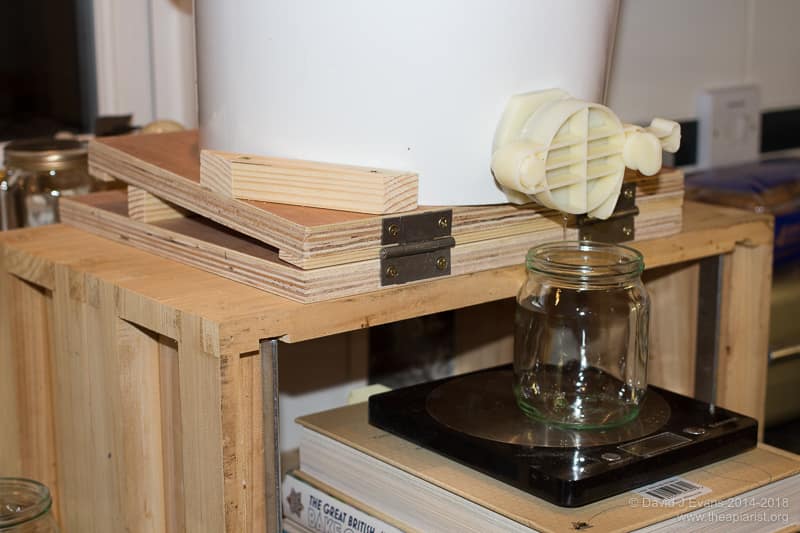
- honey bucket tippers are now available commercially – they can look beautiful but are eyewateringly expensive – but are a doddle to build for the price of a few scrap pieces of wood and two hinges.
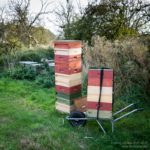
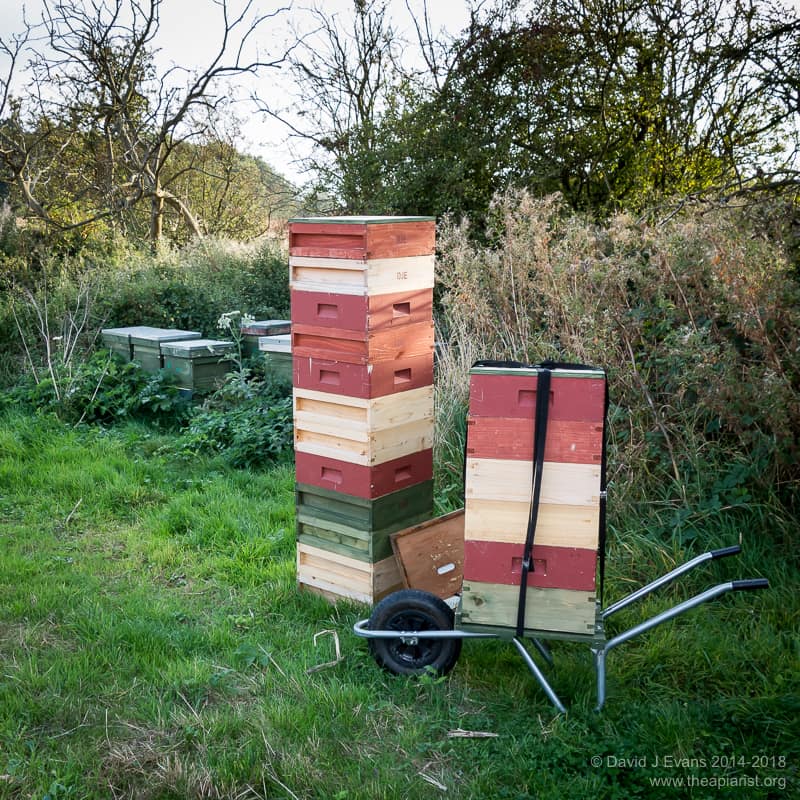
- my hivebarrow has more than paid for itself in saving hours of backbreaking work … one of the most useful things I’ve built and, as I get more decrepit, getting more useful by the year.
-
- Returning wet supers …
-
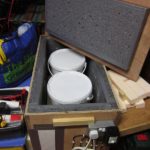
- Honey warming cabinet …
-
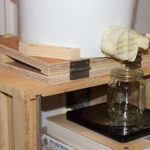
- Honey bucket tipper …
So, there you have it, you’ve now no need to attend the Fife Beekeepers AGM in early March … I’ll attribute the tiny audience for my talk to the fact you’ve all read about it in advance, rather than it being of no interest to anyone.
Of course, the three or four who do turn up are going to have trouble avoiding being voted onto the committee 😉
Finally, if you need any more convincing that beekeeping DIY makes sound financial sense, I present my final exhibit …
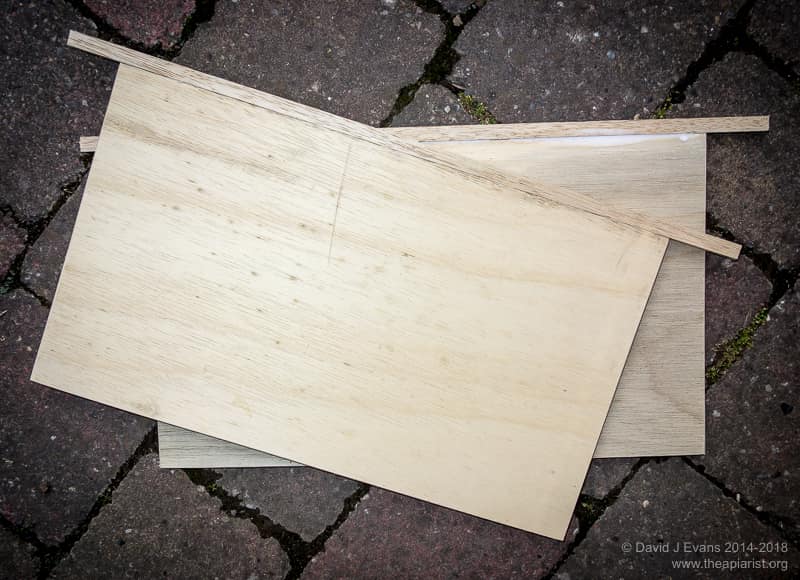
Dummy boards …
… these cost £6-7 from the beekeeping suppliers. No wonder they’re called dummy boards 😉
And don’t forget …
Measure twice, cut once, swear often
Join the discussion ...