Flawed floors
I’m a fan of Abelo poly National hives. They’re reasonably robust, well-insulating, correctly dimensioned {{1}} and pre-painted.
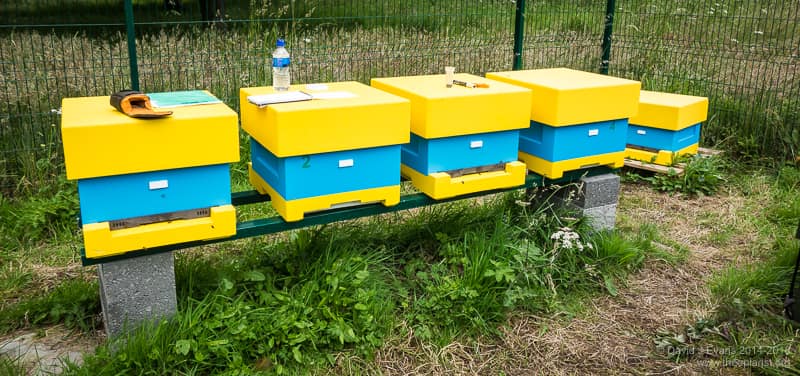
Abelo poly National hives …
I’ve been using these boxes for well over a year now and will review them shortly.
The review will be generally positive.
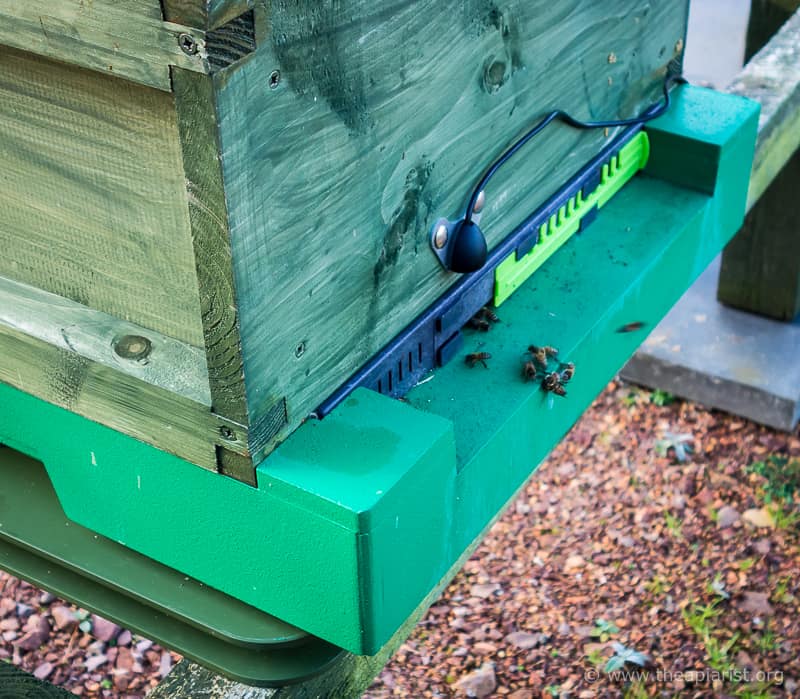
Abelo floor and entrance reducer
‘Generally’ as I really don’t like the floors. They are by far the weakest part of the hive design and have a number of, er, flaws making them poorly suited to my beekeeping {{2}}.
Rather than ‘taint’ a future review with negative comments on these flaws floors I’ll deal with them in this post and ignore them in the future {{3}}.
The poly hive retails at about £125 for a hive with 2 supers. The Abelo floor alone costs £25.
What’s the floor for?
At its most basic the floor serves as something to stand a compatible brood box on.
But it does more than that.
It allows the bees to enter and exit and it often has features that discourage the entry of other animals … like mice.
These days open mesh floors (OMF) are commonplace, allowing mites dislodged by grooming or miticides to fall out and away from the colony.
But, if you think about it in a bit more detail you realise that the floor does other things as well and therefore needs additional features:
- it’s what’s handled if you’re bodily picking up the entire hive
- it needs to have an entrance that is easily and securely sealed for transporting hives
- there is often an integrated landing board (for the beekeeper, rather than the bees)
- for convenience it should have a Varroa tray to monitor mites that fall through the OMF
- if used when vaporising oxalic acid-containing treatments it needs to be reasonably ‘gas tight’
How does the Abelo poly National floor {{4}} meet these requirements?
First, the good points
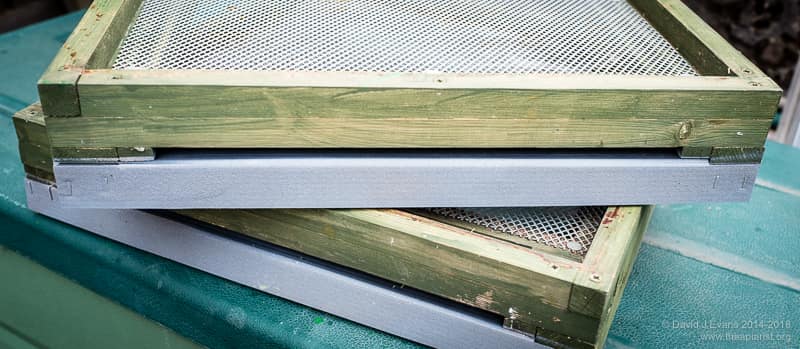
The Abelo floors are sturdy, ready-painted and nicely cast (molded? moulded? formed?) from dense poly. The paint (all mine are green or yellow though they may do blue as well) is tightly bonded to the poly surface and doesn’t easily wear away. I think the white patches in the picture below were there from manufacture, not from use.
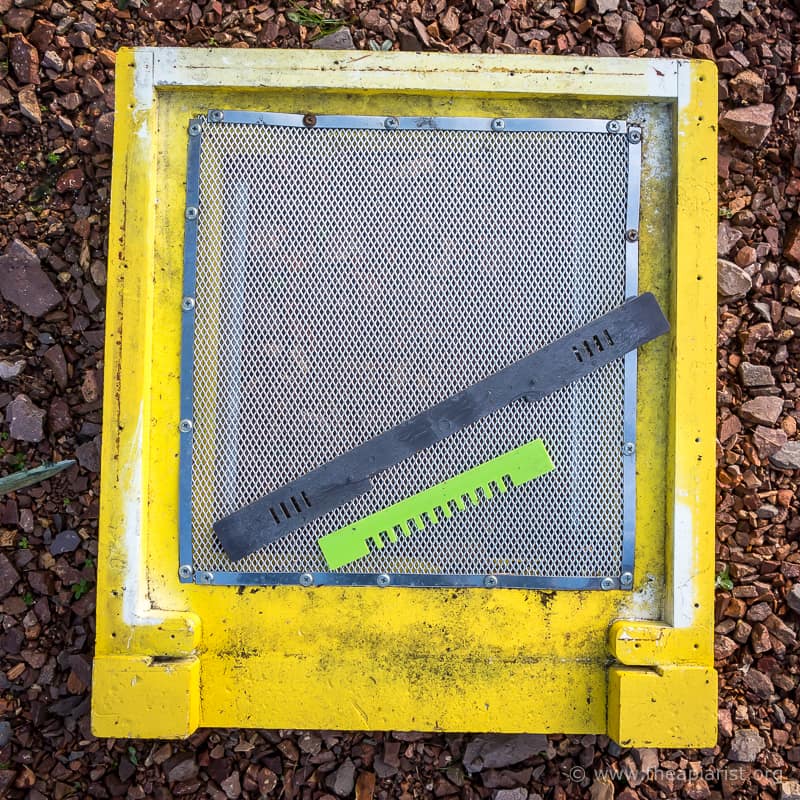
Abelo floor – drone’e eye view
The floors have an reasonable area of mesh, securely held in place. The mesh area isn’t as great as some wooden floors, but is at least as good as my homemade kewl floors.
On either side of the floor, on the underside, there is a recessed handhold that really helps in lifting hives. These recesses are also convenient anchoring points for an elasticated bungy to hold the roof in place {{5}}.
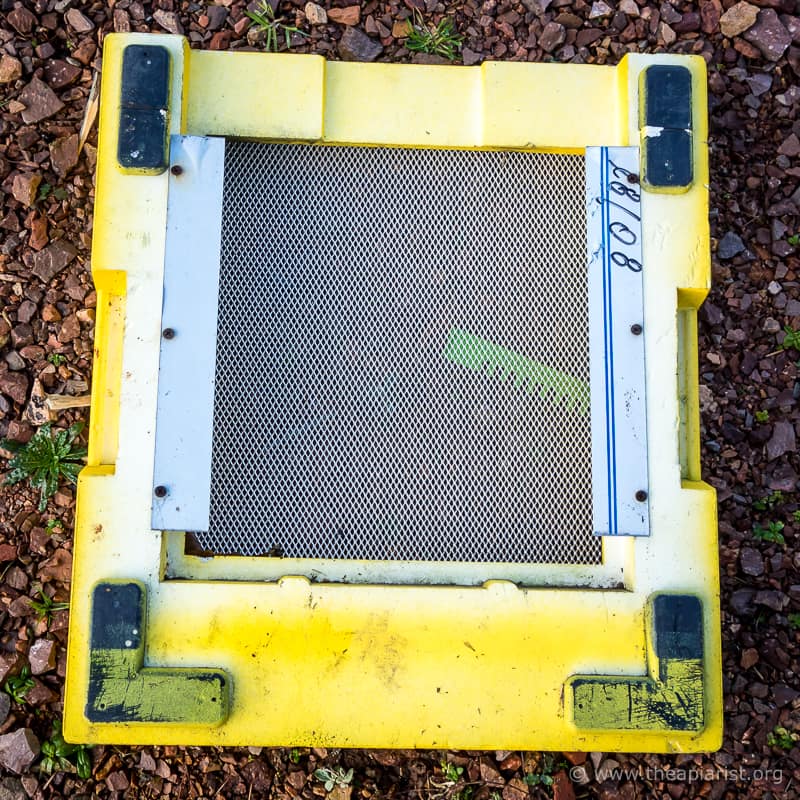
Worms-eye view of an Abelo floor
Probably the best feature of these floors is that they’re fully compatible with other National hive components. I’ve mixed them with cedar or Swienty poly brood boxes and they fit perfectly. The interface between the boxes is flat, the correct dimensions and pretty hard-wearing.
Entrance blocks
Abelo do tend to design rather ‘fiddly’ equipment and they’re very keen on ventilation.
They usually include these fiddly design features to allow increased ventilation – or at least the option for it.
The entrance block is in two parts (see photo above). A grey plastic reversible full-width block that drops into two vertical slots on either side of the landing board. One way up the entrance is reduced to ~8cm wide. Inverted and the entrance is sealed.
Well, sort of sealed 🙁
There are four vertical ventilation holes that remain open on either side of the entrance block. Are these really needed? After all, the ventilation provided by the OMF far exceeds the little bit extra through the entrance block.
There’s a second green {{6}} plastic slider that can be added to the entrance block to provide an integral mouse guard. Or – more options – if inverted it can be used to further reduce the entrance to one bee width (or closed off altogether).
Ventilation and Varroa trays
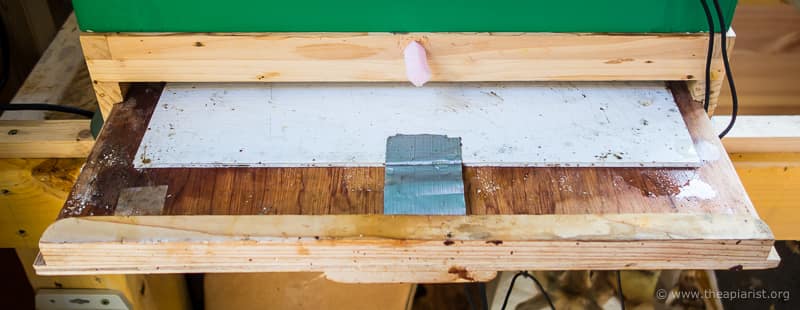
Returning to the underside of the floor, the weakest part of the design is the Varroa tray.
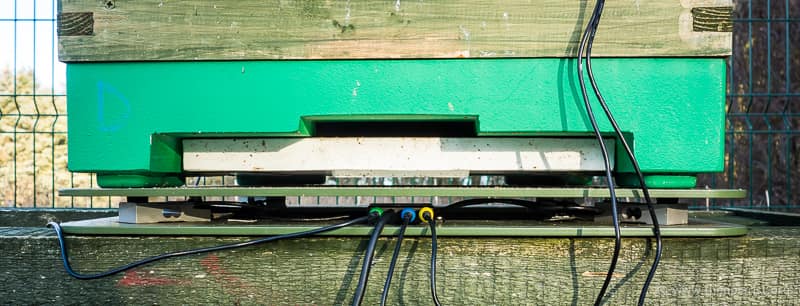
Abelo floor Varroa tray – inserted
The tray is unpainted polystyrene, square with a shallow lip. It slots into a recess in the underside of the floor, supported by two metal runners.
The area of the tray is approximately 75% of the floor area of a National brood box. With a full colony, some of the Varroa will fall outwith this area. This isn’t a major issue, but it could lead to underestimating the mite load in the colony.
The tray slides in and out easily, facilitated by a small protruding handle on the underside.
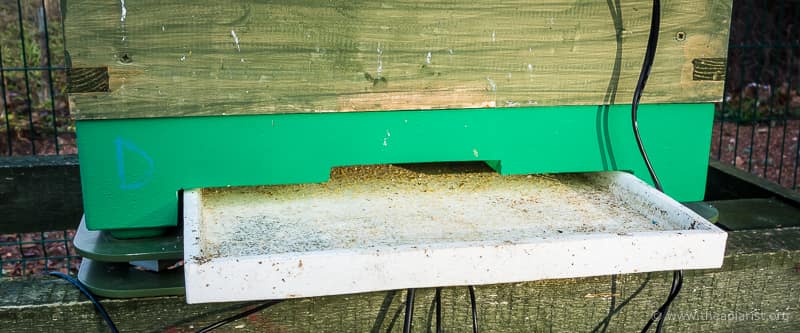
Abelo Varroa tray half withdrawn
Unfortunately, there are some large gaps around the tray when it’s in place. If you sublimate oxalic acid a significant proportion of the vapour escapes around the edges of the Varroa tray.
The gaps around the tray are awkwardly shaped, so it’s not straightforward to plug them … other than with foam blocks perhaps. It’s also not possible to easily temporarily replace the tray with a Correx sheet. If you did it would need holding in place so potentially putting you too close to the hive and clouds of escaping oxalic acid vapour.
Resourceful beekeepers will work out solutions to these problems, but it would have been better if the defects weren’t designed into the floor in the first place.
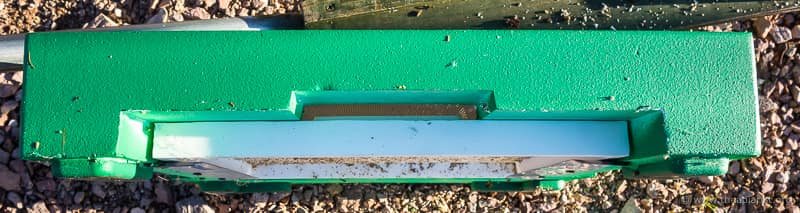
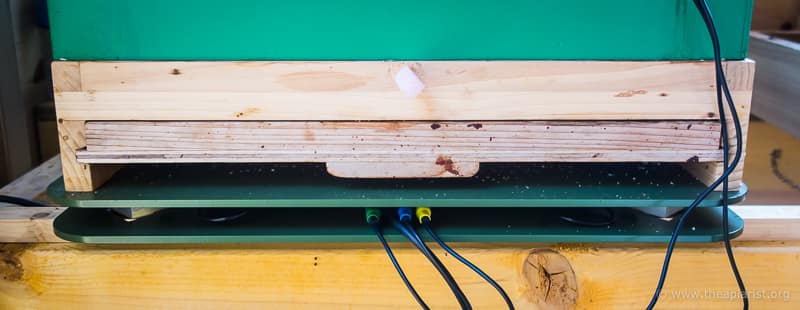
Abelo floor, Varroa tray inverted
And, before you ask, inverting the tray does not significantly seal off the gaps!
Poly Varroa trays
It is possible to make reasonably ‘vapour-tight’ poly Varroa trays. For example, the Thorne’s Everynuc has one that slots neatly in place. I’ve used these dozens of times and there is very little loss of vapour in my experience.
However, the Abelo floor (and the Everynuc Varroa tray) has the additional problem of being unpainted polystyrene. These very quickly become stained, with pollen, bee faeces and all of the usual rubbish that falls through the floor.
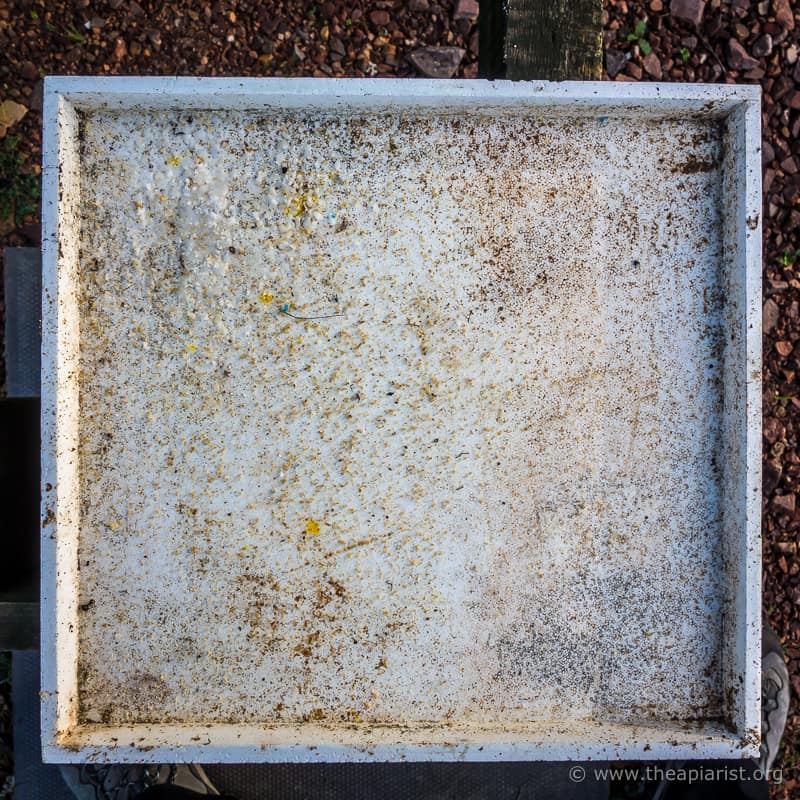
Abelo poly Varroa tray
This staining makes counting Varroa much more difficult.
Again, a couple of coats of white gloss paint would seal the surface of the tray. However, this rather undermines the attraction of the ready-painted Abelo hives 🙁
Alternatively, you could source some white Correx sheet to make an insert that would be easy to draw a grid on, count Varroa in and clean.
And, inevitably, easy to lose.
Floors done well
In summary, the problems with these Abelo floors are three-fold.
- Intentionally (the entrance block) and unintentionally (the Varroa tray) leave too much ventilation to conveniently be used when sublimating oxalic acid. The success of these depends upon retaining the vapour within the hive while it condenses on internal surfaces. Allowing it to leak out excessively simply makes the treatment less effective.
- Even if you don’t control Varroa by oxalic acid vaporisation the Varroa tray gets dirty quickly and is difficult to clean.
- Finally, it’s not possible to securely fix the entrance for transporting colonies, other than by using loads of gaffer tape. Even if you do, the large landing board on these floors makes strapping hives together awkward.
Most of my hives have homemade kewl floors. These probably cost about £6 each to make and have none of the problems listed above. They offer additional benefits as the L-shaped entrance ‘tunnel’ prevents mice from entering the hive and reduces robbing by wasps.
Kewl floor and Correx landing board …
These DIY floors have a simple, easy to clean, Correx Varroa tray that is much more ‘gas-tight’ than the Abelo design. An L-shaped wooden entrance block can be screwed in place for transport and the landing board is effectively integral to the floor, replaceable if damaged and does not project in a way that inhibits strapping hives together for transport.
Cedar floor and plywood tray …
Kewl floors are unsuited to being used in the bee shed. For these hives we use slightly modified cedar floors made by Peter Little of Exmoor Bees and Beehives. These have a ply removable Varroa monitoring tray that provides an excellent ‘gas-tight’ fit when sublimating. These floors are not inexpensive, but they are very well made.
Cedar floor with closed monitoring tray
Considering the quality of the rest of the Abelo National hives, these floors are a disappointment. I use them if I’ve run out of everything else and I kick myself when I discover – as I did a few weeks ago – that there are still some in use when the midwinter mite treatment is needed.
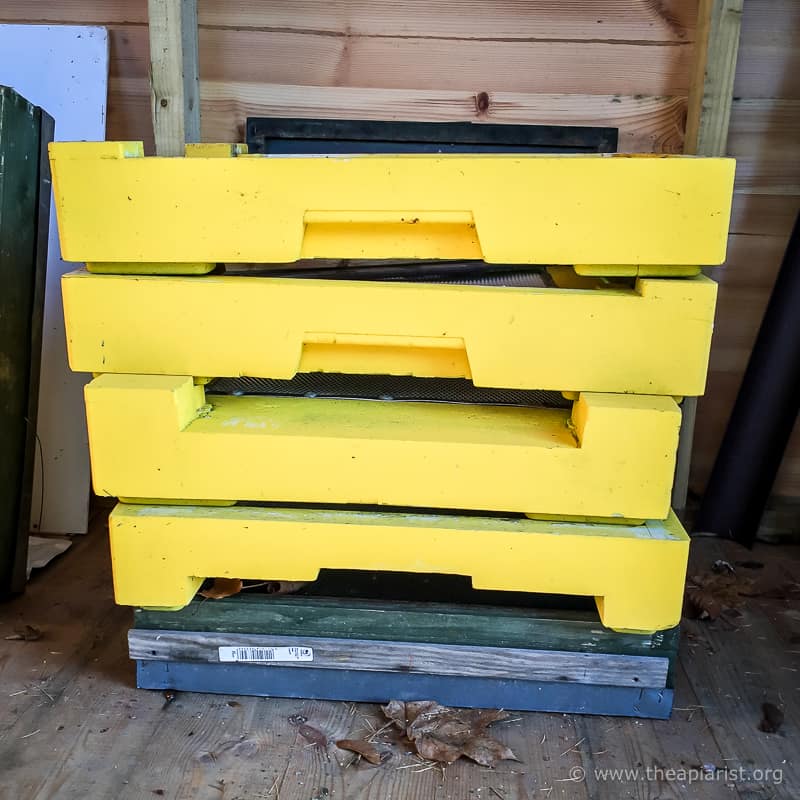
What do you call a stack of Abelo poly floors …
Colophon
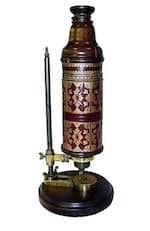
Hooke’s microscope
Floor and flaw are homonyms, two words that sound the same but have different meanings. Floor, meaning in this context the ‘base of any cavity’ probably dates back to Old English (Anglo Saxon) ~317AD. Flaw in comparison is a young upstart, with the first recorded use being by Robert Hooke in 1665. Hooke was, amongst other things a microbiologist, and he used the word flaw in his book, Micrographia, which is about his observations using a microscope (and telescopes). Hooke was the first to use the word ‘cell’ following microscopic examination of plant cells, which have walls, because the appearance reminded him of honeycomb.
{{1}}: Very important … you can mix’n’match them with other National boxes in cedar or poly.
{{2}}: But they might suit yours … read on.
{{3}}: In much the same way as most of mine are ignored, stacked up and unused, in the corner of the bee shed.
{{4}}: The related Abelo Langstroth poly hive floor appears to be a newer design, though some of the features of the floor are in common with the National floor.
{{5}}: And you will need something like this as they are relatively lightweight and are easily lost in high winds.
{{6}}: Regular readers will be aware that I’m colourblind … these could be red or brown! There’s one in the pictures.
Join the discussion ...