Here's something I made earlier

I'm aware that beekeepers in the south of England are already wrangling swarms and starting their queen rearing. However, up here in the Scottish Borders, the season starts at a more sedate pace.
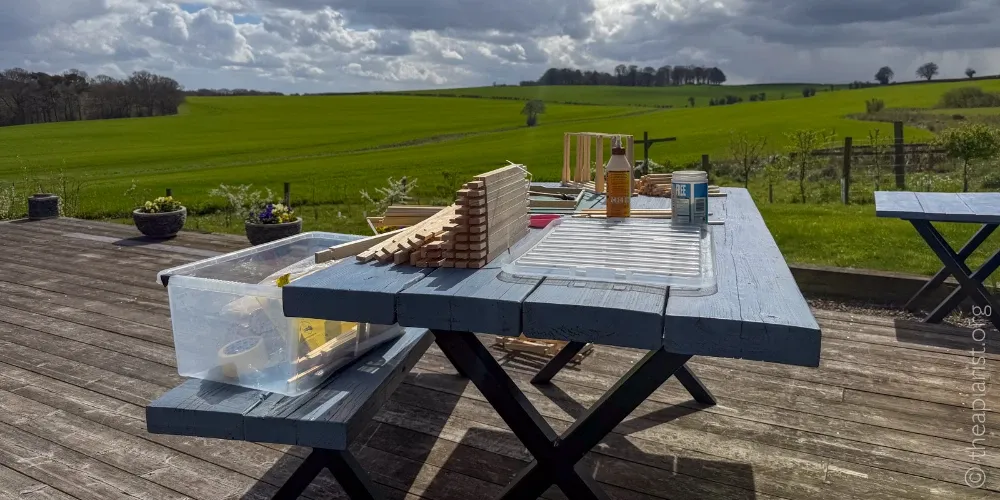
As the spring warms up, there's a period when it's still too cold to open hives, but it's warm enough to build frames outdoors. There's a week or three when you can build all the frames you need for the season, feel very virtuous having done so, and not miss too much beekeeping.
However, don't start too soon. A poorly aimed hammer with cold fingers and thumbs creates a world of pain.
My frame building is currently on hold after a non-beekeeping DIY fiasco resulted in my thumb and pinky being entirely swathed in Elastoplast. Nevertheless, I did manage to build a few dozen frames before I was rendered incapable of holding a gimp pin, so I've at least made a start.
Gimp pins
I've always called frame nails 'gimp pins', but a quick check suggests that the latter term refers to a somewhat cruder product used by upholsterers to secure fabric covering on furniture. Perhaps I'll try to use 'frame nails' in the future …
While we're on the topic, I'd strongly recommend you only purchase first quality gimp pins frame nails, rather than the seconds that suppliers sometime sell. These include all sorts of misshapen monstrosities (spade ends, missing heads) which 'slow the flow' when you're building frame after frame.
A standard frame uses 11 gimp pins {{1}}, three of which are usually driven through the 'wedge' and the wire loops of the foundation to hold everything securely together.
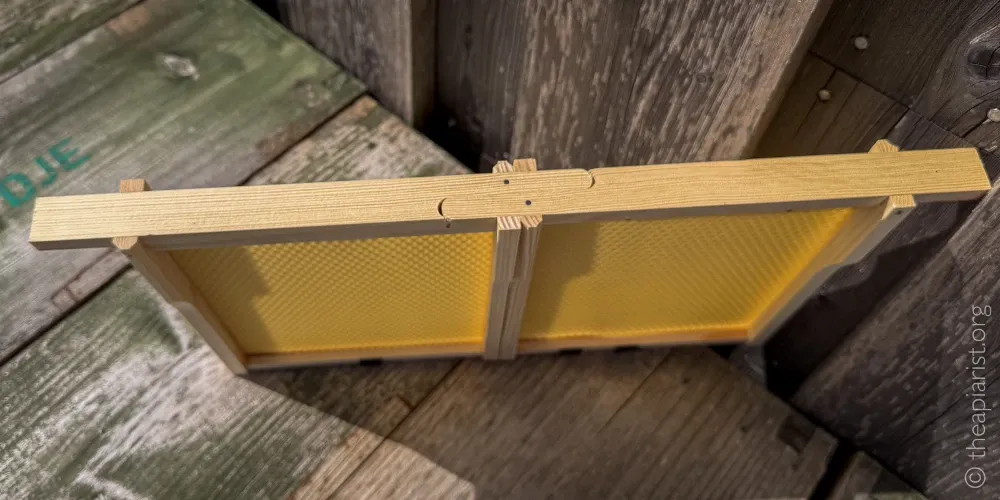
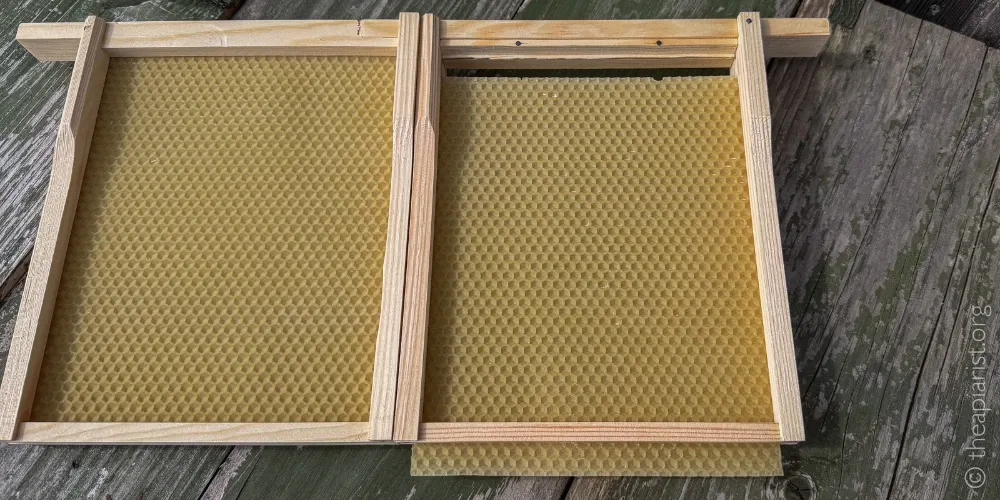
Of the frames I did manage to finish, a couple of dozen were for my new Mini-Plus Abelo hives. These are cleverly designed half-sized National frames. They're used individually in the Mini-Plus hive, or joined together to create a full-size National frame. I discussed my plans for using these in a recent post on queen rearing; super-sized eggs and no grafting … what's not to like?
These half-size Abelo frames only require two gimp pins to hold the (rather thin) wedge in place. My plans necessitate the use of unwired foundation and the sheets have a tendency to fall out of these frames because the wedge doesn't always hold them very securely.
Once the bees have drawn the comb out, everything will be fine, but until then, it's a bit precarious.
Sponsors get more … posts, news, and information on the science, art, and practice of sustainable beekeeping. They also have access to over a decade of legacy posts, and ensure The Apiarist continues to appear every week.
Frame clamps
I've had a similar experience with full-size sheets of unwired foundation (in brood or super frames e.g. for cut comb, or to go through my hydropress). Typically, the frame looks fine before you take it to the apiary, and then — right around the time you're putting it into the hive — the foundation slips.
Grrrr! … very frustrating.
I'm sure there's a 'correct' way to fix these sheets of unwired foundation securely. For example, you could run a bead of molten wax along the underside of the frame and glue them in place.
But that's not going to be a workable solution in the apiary.
A bit of lateral thinking was required.