Late season miscellany
I was struggling for a title for the post this week. It’s really just a rambling discourse on a variety of different and loosely related, or unrelated, topics.
Something for everyone perhaps?
Or nothing for anyone?
Beekeeping myths – ‘bees don’t store fondant’
I only feed fondant in the autumn. I discussed how and why a month ago. Inevitably some people question this practice.
I’ve heard that bees don’t store fondant, don’t they just eat it when needed?
‘X’ (a commercial/old/decorated/opinionated beekeeper) assures me that bees do not store fondant.
Many beekeepers, even experienced beekeepers, seem to be under the impression that bees will not store fondant.

All gone!
So, let’s correct that ‘fact’ for starters, and file it forever where it belongs … in 101 Beekeeping Myths.
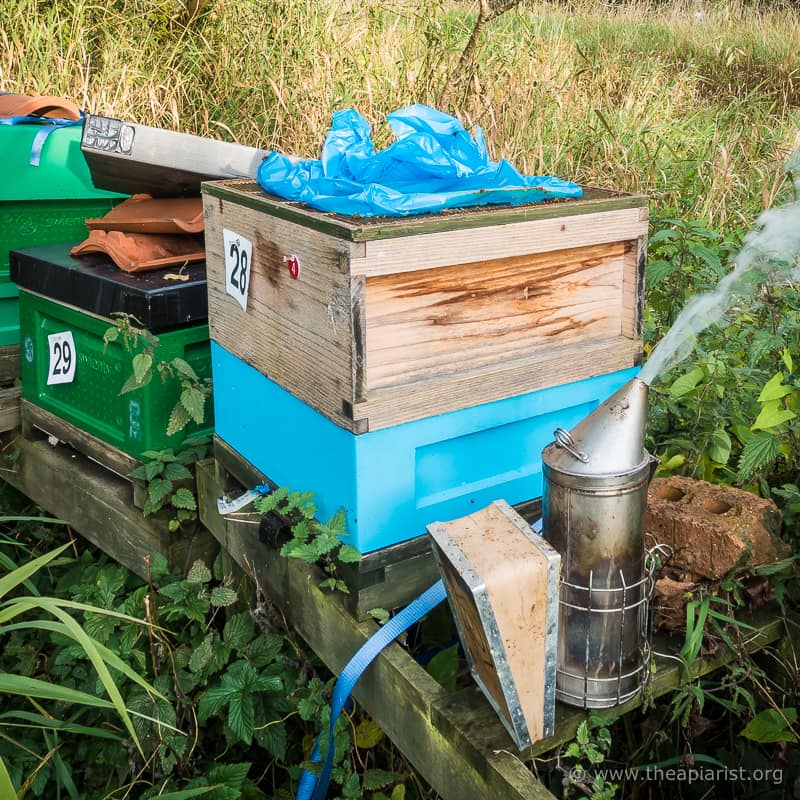
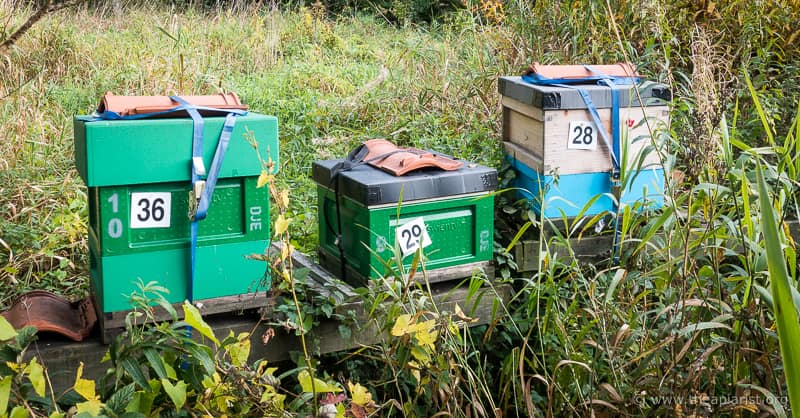
I added a single 12.5 kg block of fondant to all my colonies on the 28th of August. I checked them again on the 2nd of October (i.e. exactly 5 weeks later). About 80% had completely emptied the bag of fondant. All that remained was the empty blue plastic ‘husk’.
The few that had not completely emptied the bag were ~75% through it and I expect it to be all gone in a week or so.

Blue plastic ‘husks’ from ~60 kg of fondant.
So where has the fondant gone?
There are only two options {{1}}. They’ve either eaten the fondant and used it to rear new brood, or stored it.
That amount of fondant is far more than they could consume and not rear lots of brood. So, it’s gone somewhere …
The weather has been OK. Bees are still gathering pollen and a small amount of late season nectar. They’ve not been locked away for a month just scoffing the fondant to keep warm.
They have been rearing brood – see below – but in ever-diminishing amounts, so this is unlikely to account for those empty blue bags.
But the biggest giveaway is the fact that the hives are now very heavy and almost every frame is packed solid with stores – again, see below.
The hives are actually very much heavier than they were at the end of August.
There’s not enough late season nectar flow to account for this increase in weight. There are also empty fondant bags on the top bars.
Although correlation does not necessarily imply causation, in this case, it does 😉
Bees do store fondant {{2}}. It’s just sugar, why wouldn’t they?
Wall to wall brood stores
Out of interest I opened a couple of colonies to check the levels of stores and brood.
I only did this on colonies that had finished eating storing the fondant. Assuming the hive is heavy enough I remove the empty bag and the queen excluder from these, prior to closing the hive up for the winter. If they are still underweight I add another half block.
And another … all gone!
A 10-frame colony in the bee shed was typical. This was in a Swienty National poly brood box. These colonies are oriented ‘warm way’ and inspected from the back i.e. the opposite side of the hive to the entrance.
The first six frames were packed with capped stores.
Nothing else.
No brood, no gaps, nothing. Solid, heavy frames of nothing but stores.
The seventh frame had a small patch of eggs, larvae and a few open cells. In total an area no larger than my rather modestly sized mobile phone {{3}}. Other than some pollen, the rest of the frame was filled with stores, again all capped.
Frame eight had a mobile-phone sized patch of sealed brood on both sides of the frame, with the remainder being filled with stores.
The ninth frame looked like the seventh and I didn’t bother checking the last frame in the box as the front face of it looked like it was just packed with stores.
I accept that the far side of that frame could have been a huge sheet of sealed brood, but I doubt it. This colony hadn’t been opened for more than a month, so the brood nest had not been rearranged by my amateur fumbling … it’s just as the bees had arranged it.
So, in total, the colony had less brood (eggs, larvae and capped) than would comfortably fit on a single side of one frame i.e. less than one twentieth of the comb area available to them. The rest, almost every cell, was sealed stores.
On the basis that a capped full National brood frame contains ~2.3 kg of stores {{4}} then this brood box contained about 22 kg of stores, which should be sufficient to get them through the winter.
Apivar strips
I treated all these colonies with Apivar at the same time as I fed them. Apivar needs to be present for 6-10 weeks, so it is still too soon to remove the strips.
However, it’s worth checking the strips haven’t been propolised up, or got embedded into the comb they’re adjacent to.
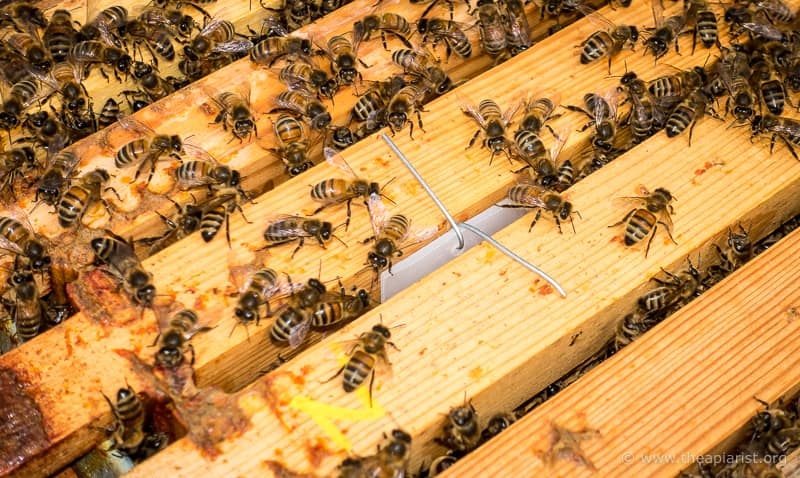
Apivar strip on wire hanger
Apivar is a contact miticide. The bees need to walk back and forwards over the strips. Therefore, if parts of the strips are gummed up with propolis, or integrated into comb, the bees will not have access.
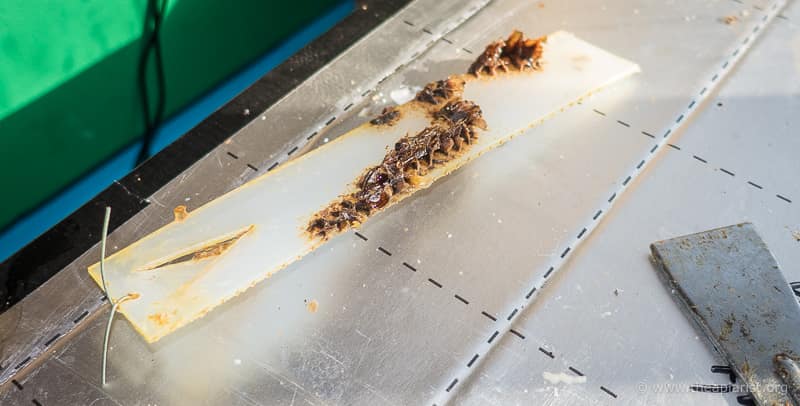
Apivar strip partially gummed up with wax and propolis
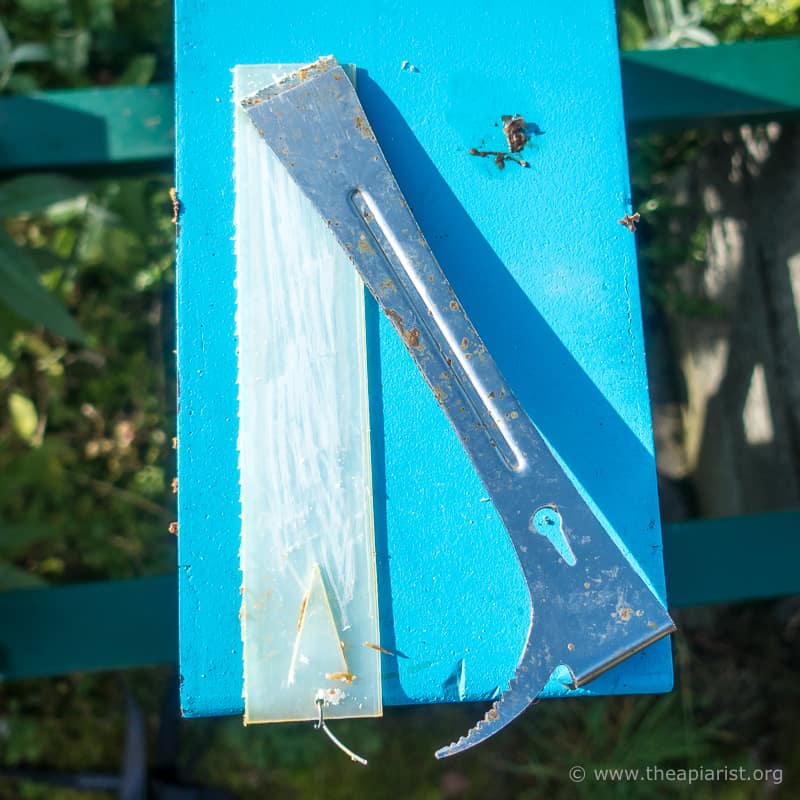
You may remember that I tried hanging the strips on wire twists this season (see photo), rather than using the integrated plastic ‘spike’ to attach them to the comb. These wire hangers have worked well, for two reasons:
- The strips are more or less equidistant between the flanking combs. They are therefore less likely to get integrated into the comb {{5}}, consequently …
- They are a lot easier to remove 🙂
I checked all the strips, scraping down any with the hive tool that had been coated with wax or propolis. This should ensure they retain maximal miticidal activity until it is time to remove them {{6}}.
Scraped clean Apivar strip … ready for a couple more weeks of mite killing
And, it’s worth stressing the importance of removing the strips after the treatment period ends. Not doing so leaves ever-reducing levels of Amitraz (the active ingredient) in the hive through the winter … a potential mechanism for selecting Amitraz-resistant mites.
Au revoir and thanks for the memories
Other than removing the Apivar strips in a couple of weeks there’s no more beekeeping to do this year. And that task barely counts as beekeeping … it can be done whatever the weather and takes about 15 seconds.
As stressed above, it is an important task, but it’s not really an opportunity to appreciate the bees very much.
It must be done, whatever the weather.
Last Friday was a lovely warm autumn afternoon. The sun was out, the breeze was gentle and the trees were starting to show their fiery autumn colours. The bees were busy, almost self-absorbed, and were untroubled by my visit. It was a perfect way to wrap up the beekeeping year.
Like Fred commented last week, these last visits to the apiaries are always tinged with melancholy. Even in a year in which I’ve done almost no beekeeping, I’ve enjoyed working with the bees. It’s at this time of the season I realise that it’s a long time until April when I’ll next open a hive.
And, when you think about it, the active part of the season is shorter than the inactive part in northern latitudes 🙁
It was reassuring to see strong, healthy colonies showing no defensiveness or aggression. My split them and let them get on with it approach to queen rearing this season seems to have gone OK. With 2020 queens in most of the colonies I’ll hope (perhaps in vain) for reduced swarming next spring. I’m pretty certain that the colonies that were not requeened this year (under non-ideal conditions) generated more honey because there was no brood break while the new queen got out and mated.
Securely strapped up for the winter.
I’m confident that the colonies have sufficient stores and are all queenright. The mite levels are low – some much lower than others as I will discuss in the future – and the hives are securely strapped up for the winter ahead.
There’s no smoke without fire
And now for something completely different.
I’ve acquired a third main apiary this year and, because of its location, cannot carry equipment back and forwards all the time. I’ve therefore had to duplicate some items.
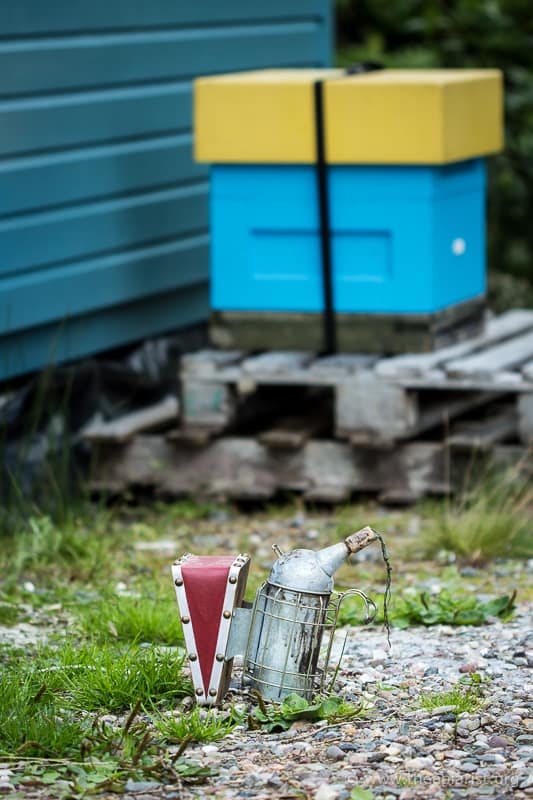
A little smoker
I didn’t want to shell out £60+ on a yet another Dadant smoker so dug out my first ever smoker from the back of the shed. I think this was originally purchased from Thorne’s, though not by me as I acquired it (at least) second hand, and it’s not listed in their catalogue any longer.
It’s a bit small and it has a tendency to go out, either through running out of fuel or simply because the ‘resting’ airflow is rather poor.
Consequently I often have to relight it.
I’m a big fan of using a blowtorch to light a smoker. If you get an auto-start model they work whatever the weather.
Or, more specifically, whatever the wind.
Trying to relight a recalcitrant smoker on a windy day with matches in the presence of a stroppy colony is not my idea of fun.
Of course, my colonies aren’t stroppy, but if they were going to be it would be when all I had was a box of matches in a strong breeze 😉
Rather than buying an additional blowtorch I instead purchased a kitchen or chef’s blowtorch, designed to produce the perfect crème brûlée. It was a ‘Lightning Deal’ for under £7 from Amazon. Even at full price it’s still only half the price of a cheap DIY blowtorch.
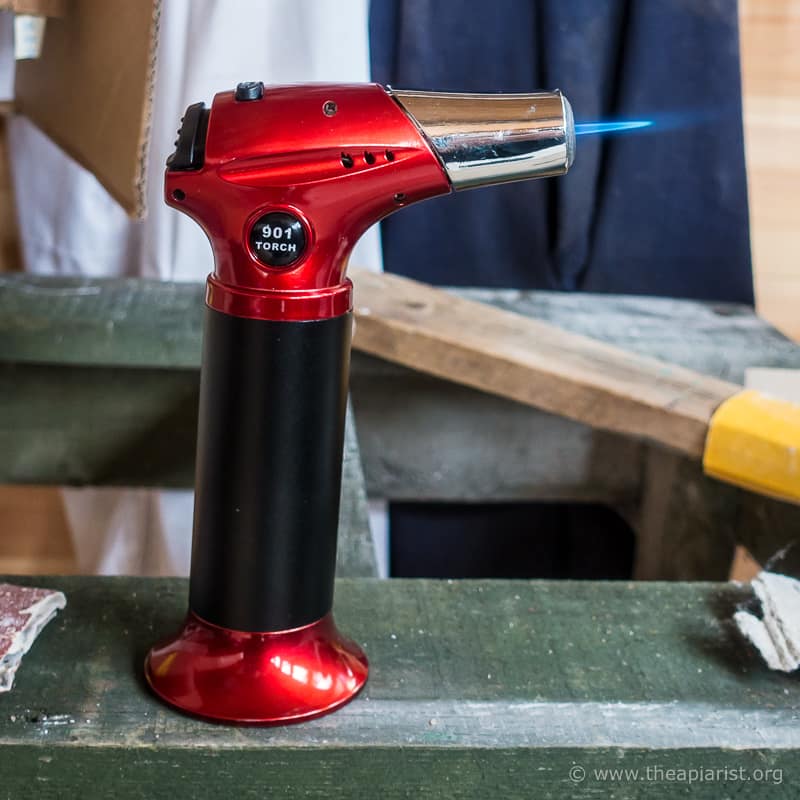
Blowtorch
It’s easy to fill, lights first time and immediately produces a focused blue flame. In contrast, my DIY blowtorch needs to warm up for 30 s. to change from billowing yellow {{7}} to an intense blue flame.
The chef’s blowtorch is also small enough to fit inside the same box I store/carry smoker fuel in. There is a lock to either prevent inadvertent ignition, or to produce an ‘always on’ flame.
If it survives the adverse environment of my bee bag it will be money well spent.
If not, I’ll make some crème brûlée 😉
There’s no smoke without fuel
Thorne’s had a late summer sale a fortnight or so ago. My order was finally shipped and arrived during a week when I was away and it was raining (two facts that are not unconnected … I’d disappeared to check my bees on the other side of the country where the weather was better).
The order sat outside in the rain and looked rather forlorn when I returned. Nothing was water damaged, not least because of the huge amounts of shredded packing protecting the contents.
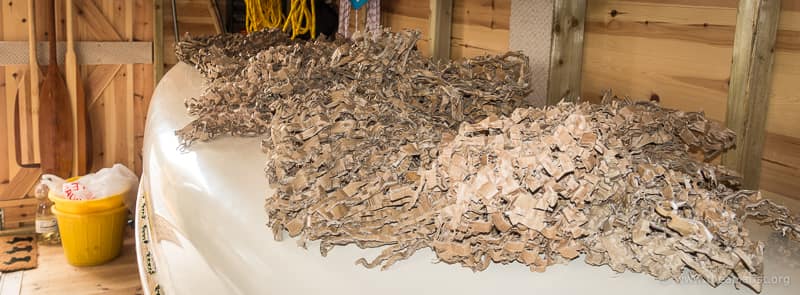
Drying tonight
This stuff makes good smoker fuel. You just tear a handful off and stuff it in the smoker. It’s easy to light, smoulders well and doesn’t smell too acrid.
At least, once it’s dry it has all those desirable characteristics.
It’s now laid out drying on top of my canoe in the shed. I’m not even sure how they got so much in the delivery box. It looks like several cubic feet laid out like that, possibly enough for all of next year.
Waxworks
Although I’ve singularly failed to cycle a lot of old dark frames out of my colonies this year, I have managed to accumulate a lot of frames that need melting down. Some are old and dark, others are all drone comb in foundationless frames, and some are from a colony with a dud queen. I’d also accumulated quite a bit of burr or brace comb during my few beekeeping days of the season.
There’s not a lot of wax in most brood frames and the wax you can extract is rather dark. However, it’s perfectly acceptable to trade in for fresh foundation and makes very satisfactory firelighters.
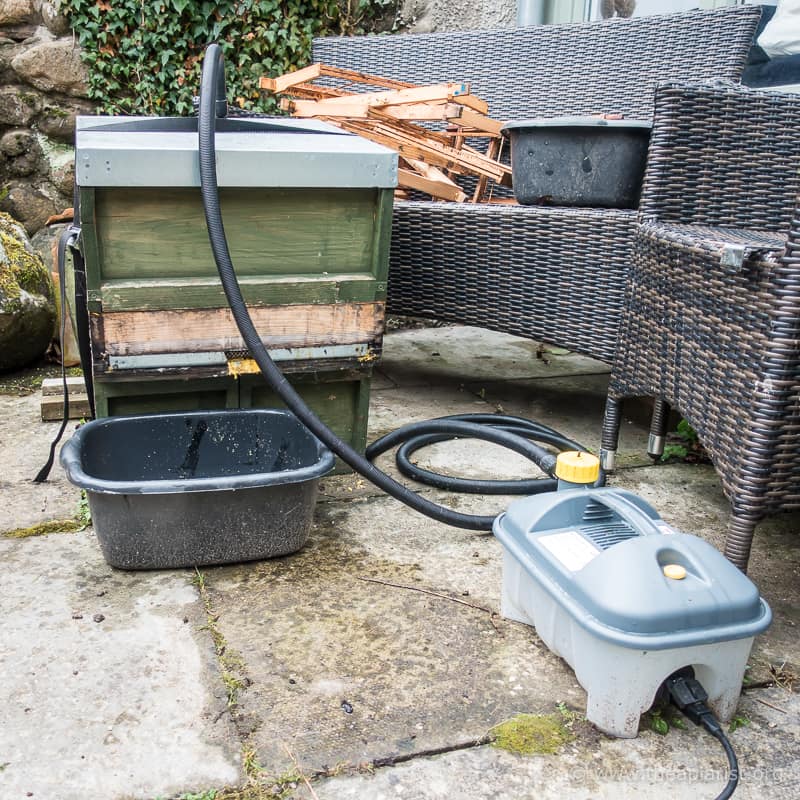
Thorne’s Easi-Steam in action
And, after you extract the wax and clean up the frames you can reuse them. Simply add fresh foundation and you save yourself the drudgery of frame making. Result 😉
Or, if you use foundationless frames, you can just reuse them. Even better 🙂
A couple of years ago I treated myself to a Thorne’s Easi-Steam. I bought it without the steam generator as I already had one from my earlier homemade wax extractor {{8}}. With the help of a mate who is a plumber I got the right sort of brass connectors to fit my steam generator to the Easi-Steam and I was ready to go.
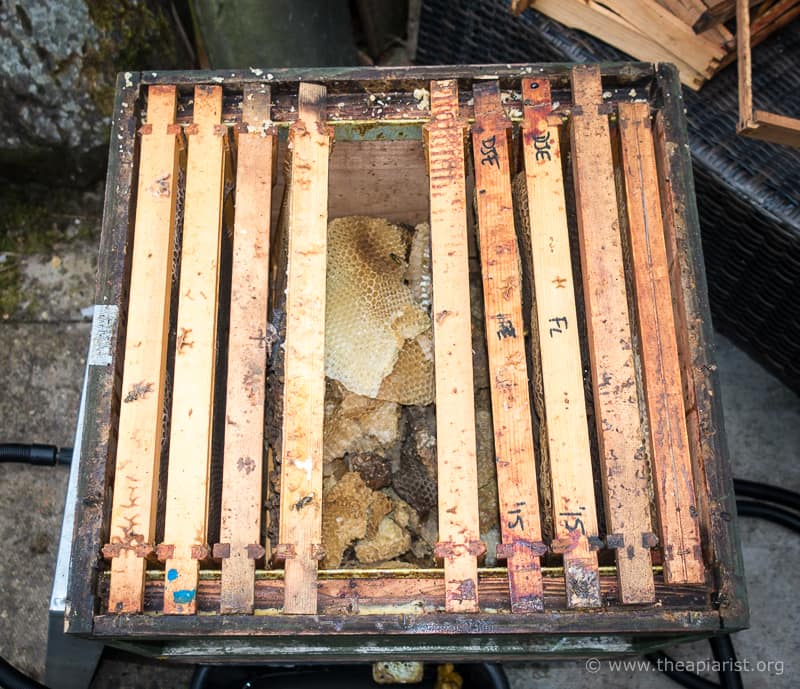
Frames and brace comb ready for extraction
The Easi-Steam consists of a metal roof, a deep lower eke and a mesh and metal floor that needs a solid wooden floor underneath (which isn’t provided). You put it all together, add a brood box (almost) full of frames and fire up the steamer … then watch as the wax drips out into a bucket. ‘Almost’ because the brass connector stands proud and fouls the top bars of the frames {{9}}, so you need to leave a gap.
It works well and leaks less than my homemade extractor. The recovered wax is remelted, cleaned up briefly, refiltered and is then ready for trading in or turning into firelighters.
This is all small scale stuff. With an oil drum, a big heater and an old duvet cover you can do much more, much faster. But I don’t need that capacity, or have the space to store the gear for the 363 days of the year it’s not being used.
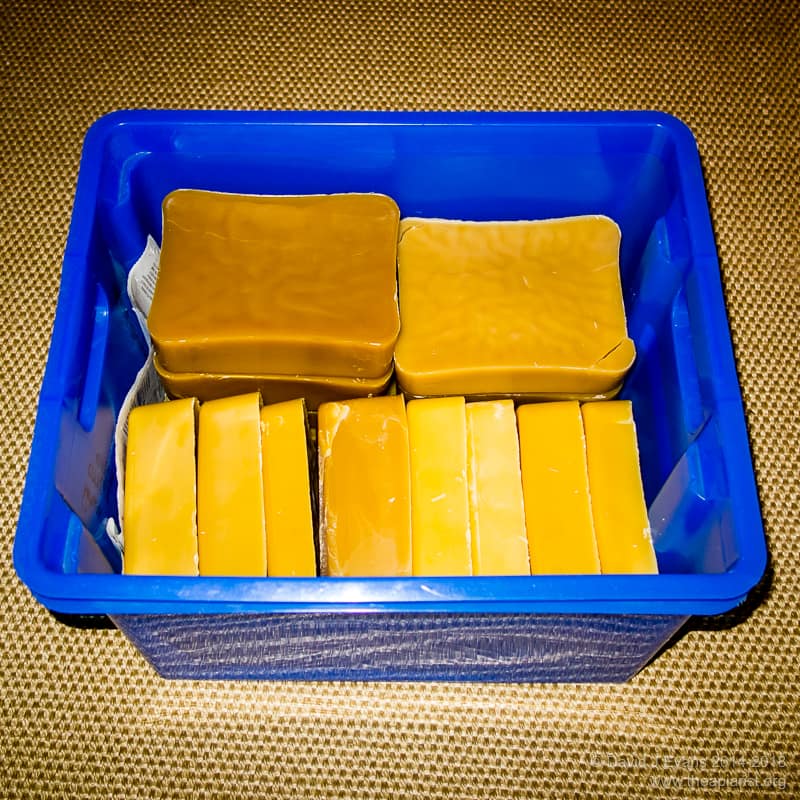
Here’s some I made earlier
There’s a long winter ahead and I think the time invested in wax extraction is more than justified when I …
- Return from Thorne’s of Newburgh with 200 sheets of premium foundation having ‘paid’ with a just few kilograms of wax
- Ignite another pile of felled rhododendron logs with a homemade fire lighter
- Use the time I would have been making frames to do something more enjoyable {{10}}
{{1}}: Three if you include robbing … but these colonies were not being robbed.
{{2}}: At least they do under the conditions I use it … if they didn’t, I wouldn’t use it. They might not store fondant when fed it in the depths of winter … I don’t know because I’ve not tested it.
{{3}}: i.e. not one of those tablet-sized monstrosities.
{{4}}: An oft-quoted weight, though I’ve not checked this.
{{5}}: Though it’s not impossible as the photo above shows.
{{6}}: It’s worth noting that guidance to do this is in the instructions on every packet of Apivar … but how many people actually read those?!
{{7}}: That burns all the hair from the back of your hand if you’re not careful.
{{8}}: This worked pretty well. However, being made largely of wood it increasingly leaked steam from various joints and connections. In addition, the metal floor (made from the side of a fridge if I remember) had some razor-sharp edges and was an H&S accident waiting to happen … time for a change!
{{9}}: At least, the one I have does and, since the roof is flush with the top bars, I think you always need to leave the central frame out.
{{10}}: i.e. almost anything.
Join the discussion ...