The bee bag
I think there’s sometimes a misconception that those who write (or talk) about a topic are the most knowledgeable on that topic.
After all, why else would they feel qualified to write?
And, if they’re knowledgeable – even if not all knowing – then they also have the luxury of time (to write, or to enjoy the scenery or whatever). Rather than repeatedly struggling doing the wrong thing, they briefly and efficiently do the right thing™.
Their incisive and unwavering decision making, coupled with a calm and measured confidence, means difficult tasks are made easier and routine activities are rendered trivial.
And this efficiency of thought and activity is complemented by an impressive level of organisation and preparedness. After all, how else would they be able to achieve what they do, without being prepared for all eventualities … and have the tools immediately to hand that are needed?
I’m sure that’s true of some who write … and it might even be true of some who write and talk about beekeeping … but it’s not true of me 🙁
At least, not often.
I might write about how I did something, making it sound trivial and unexciting:
“… pick the queen up by her wings and place her in the JzBz cage, add a few nurse bees to keep her company and place the cage safely in your pocket.”
But I omitted to describe the times I couldn’t find a JzBz cage, or got stung repeatedly grabbing workers, or let the virgin queen fly around the shed for 5 minutes before she disappeared out of the door.
Or when the cage fell through the hole in my pocket (caused by a razor sharp hive tool), down my trouser leg and into my boot.
Those who can, do; those who can’t, teach
The luxury of writing means I can skip over those things that make me sound like the author of the bestselling Slapstick beekeeping, and instead present a coherent vision of what beekeeping should be like.
Think of it as a sort of sanitised version of beekeeping, with the swearing bowdlerised and the Charlie Chaplin-style antics omitted to make me look vaguely competent.
Not, I should add, that every visit to the apiary looks like Laurel and Hardy {{1}} in beesuits.
I do my best to learn from my mistakes, or at least not forget them, and – every winter – I incrementally improve my organisation for the season ahead.
I review my notes from the season just finished and I make general, and sometimes very specific, plans for the following year. If these necessitate buying or building new equipment then I try and do that during the seemingly interminable short winter days (if that isn’t oxymoronic).
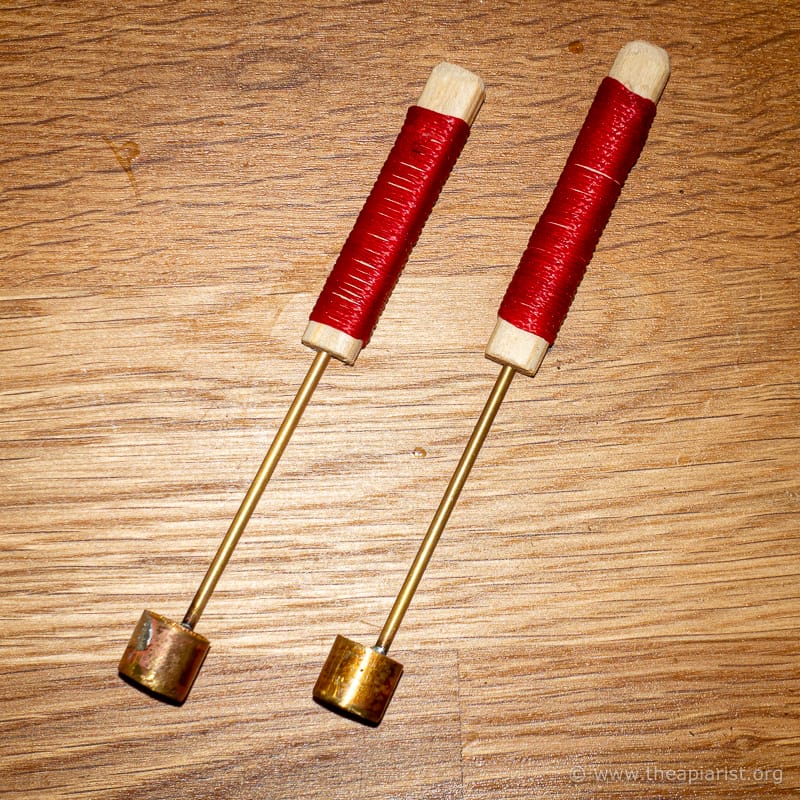
This winter this has involved completing my queen rearing incubator and building some cell punches for queen rearing.
The organisation involves preparing this new ‘stuff’ as well as sorting out some of the accumulated debris from the season just finished.
In particular, I sort through, tidy and hopefully streamline, the contents of the bee bag.
The beekeepers box
When you visit the apiary there are a few tools you will almost always need – for example, a smoker and a hive tool. You’ll need something combustible in the smoker and some way of igniting it. And you should have something to carry that lot in that is itself non-flammable, so you don’t risk self-immolation when driving back home.
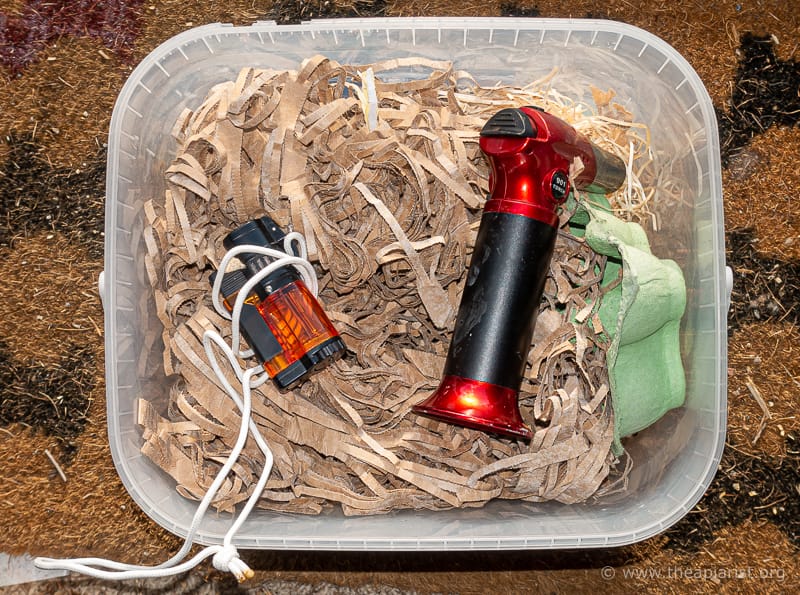
I’ve discussed the fireproof box I use for my smoker previously. I now keep smoker fuel and a kitchen ‘creme brûlée’ blowtorch in a clear plastic box. Bitter experience – you can guess what – taught me that a clear box enables me to easily check the blowtorch is present before I drive 150 miles to the apiary.
The easiest – and most hygienic – way to store your hive tool is in a strong solution of washing soda in the apiary. It’s always there and it’s always clean.
But there are times in the apiary when you’ll need a lot more than a smoker and a hive tool.
I’m not referring here to the large items – the spare brood boxes, the supers, the split boards or queen excluders {{2}}.
Instead, I’m referring to the smaller stuff … like the JzBz cage to put the queen into, or the (wickedly sharp) scissors to clip her wing or the Posca pen to mark her.
Beekeepers have come up with all sorts of fancy carrying boxes made from wood or metal. Jim Berndt described a typical one in Bee Culture a few years ago. Built from 3/4” pine, and with space for the smoker, frame brush, frame hanger and any number of other things.
It must have weighed a ton.
Jim admitted as much when he acknowledged that he’d build the next one from thinner wood.
I’ve seen boxes with integrated seats, or was it a seat with an integrated beekeepers box?
The bee bag
But anything rigid, by definition, lacks flexibility.
If there’s not space in the box for Thorne’s-must-have-gadget-of-2022 (something you only need every other month in the apiary) then you have to carry it separately. If there is space in the box but you only need Thorne’s-must-have-gadget-of-2022 twice a season then the box is heavier and bigger than it need be.
All of which can be avoided by using a cheap bag to carry the necessities down to the apiary.
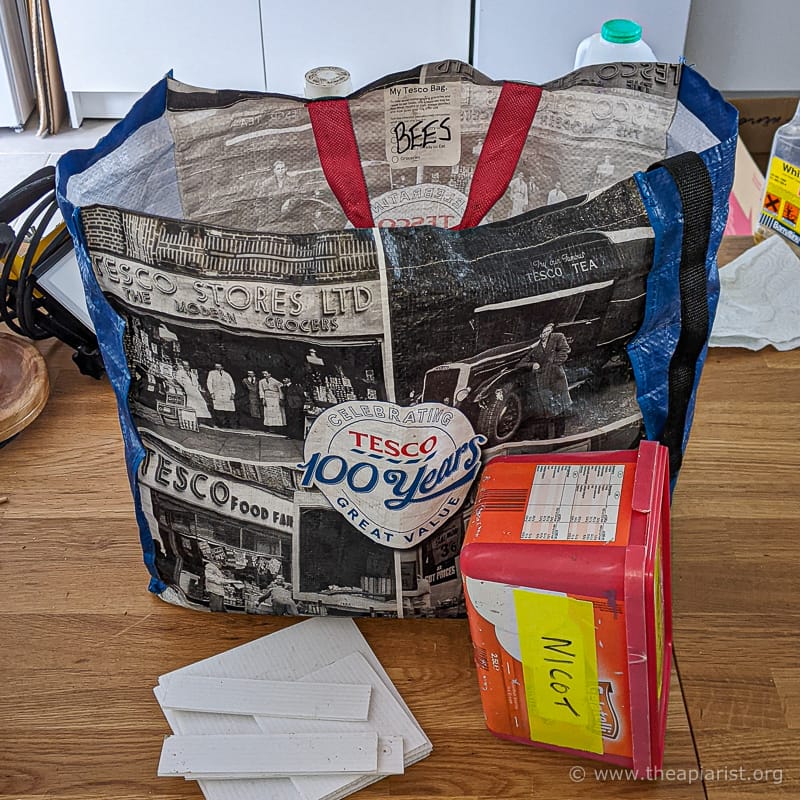
And what could be cheaper than a supermarket ‘bag for life’ ? {{3}}
These bags are light and easy to carry, with strong woven handles. Although they aren’t cavernous (they never have quite enough space for my shopping) they are certainly big enough to carry the essentials, and not-so-essentials, to and from the apiary.
Importantly, they are strong.
Being open and flexible you can, if needed, squeeze all sorts of additional things in.
Although I described them as cheap a better term would be inexpensive. I think they started at about 25p, but they seem to be £1 to £1.25 now.
Being made of polypropylene they are easily rinsed out or wiped clean should they get dirty.
And they will get dirty.
And since they are so cheap inexpensive, it’s not the end of the world if you melt them with the smoker or perforate them with a hive tool.
I’ve used this sort of bag for my beekeeping – not the same one, though they tend to last several seasons – for many years. The Tesco’s centenary was in 2019 and the bag above will certainly get me through to the end of the 2022 season.
Bringing order to entropy
Each winter I sort through the debris that accumulates at the bottom of the bag. I clean everything and get rid of anything that’s been carried around unused for the season. Finally, I replenish the perishables, the worn out or the irreparably damaged.
And then I’m ready for the season ahead 🙂
I don’t just carry around a bag containing a pick’n’mix of jumbled beekeeping paraphernalia {{4}}. The items in the bag are separated into logically-labelled containers for my beekeeping activities.
And long, much repeated and enjoyable field testing has shown that the very best type of containers to use are those designed for ice cream 🙂
Not, I hasten to add, your ’fancy Dan’ Ben and Jerry’s ‘£5 for a couple of scoops’ ice cream in those pathetic cardboardy tubs {{5}}.
Instead, what you need are plastic, square or rectangular (for efficient packing) and with well-fitting lids. Two litre containers are much better than anything much smaller, not just because they’re more fun to empty, but also because they are likely to themselves house smaller containers.
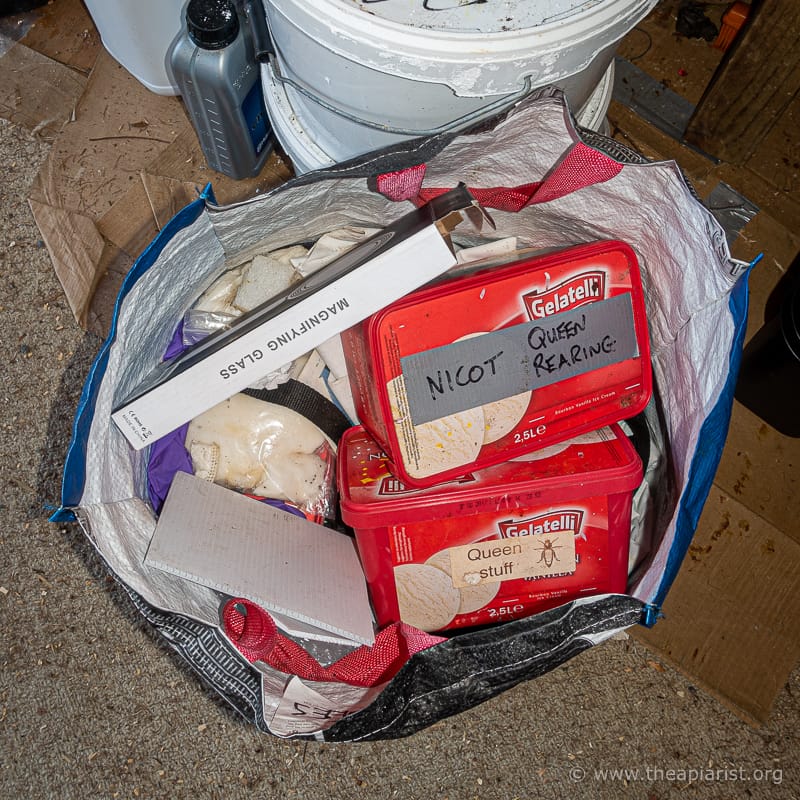
I’m still using some 2.5 litre containers that were sold full of Lidl Gelatelli Vanilla (see the photo above). The ice cream was pretty good but they appear to have stopped making it {{6}}.
I’m sure, if you work hard, you’ll be able to find something equally good … it’s a thankless task, but someone has to do it 😉
What’s in the bag?
I can get everything small I need into two of these boxes – one marked ‘daily’ and the other labelled ‘queen stuff’.
I like to keep the labelling simple to avoid confusion.
Daily
These are the things I use, or might use, on every trip to the apiary:
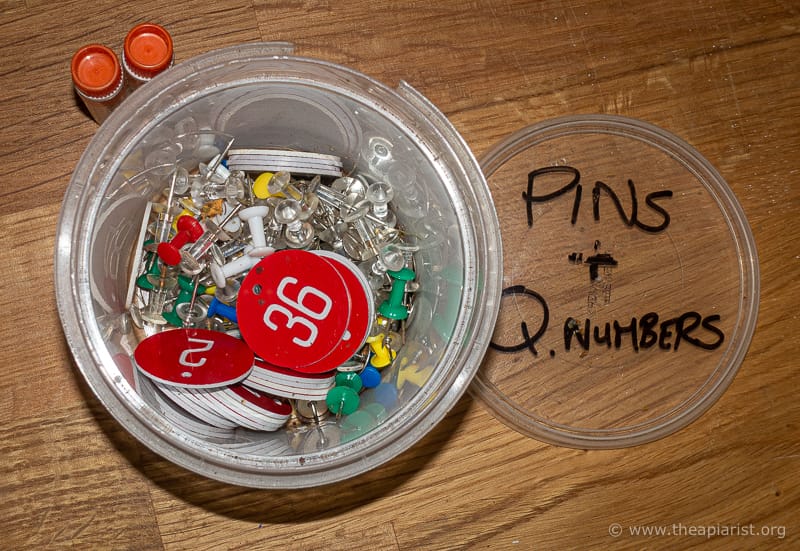
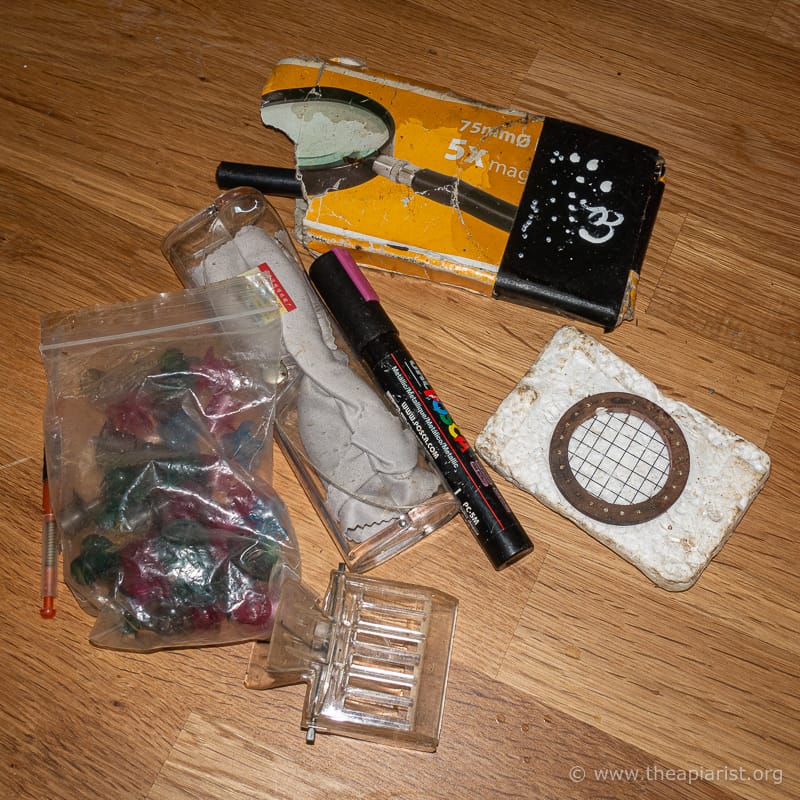
- a box containing drawing pins (difficult to use with gloves) and map tacks (easy to use with gloves), together with the red numbered disks I use to label the queen in the hive {{7}}.
- numbers for the outside of the hive
- marker pen for labelling anything except queens
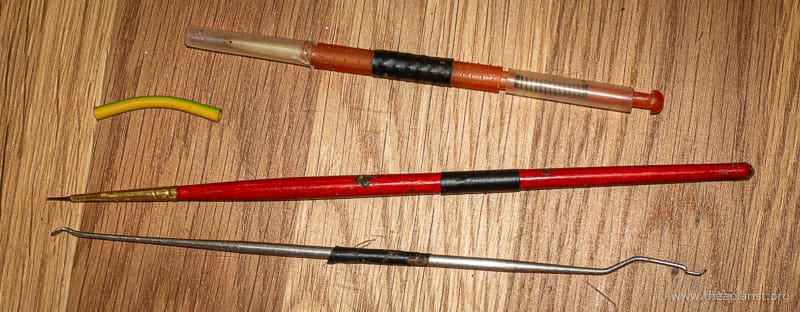
- a wired queen excluder cleaner {{8}} and an uncapping fork for checking drone brood for Varroa
- spirit level for levelling a hive. This is important if you use foundationless frames. Once you’ve tried to rearrange the frames in an wonky hive full of drawn foundationless frames you’ll realise how useful a small spirit level is {{9}}
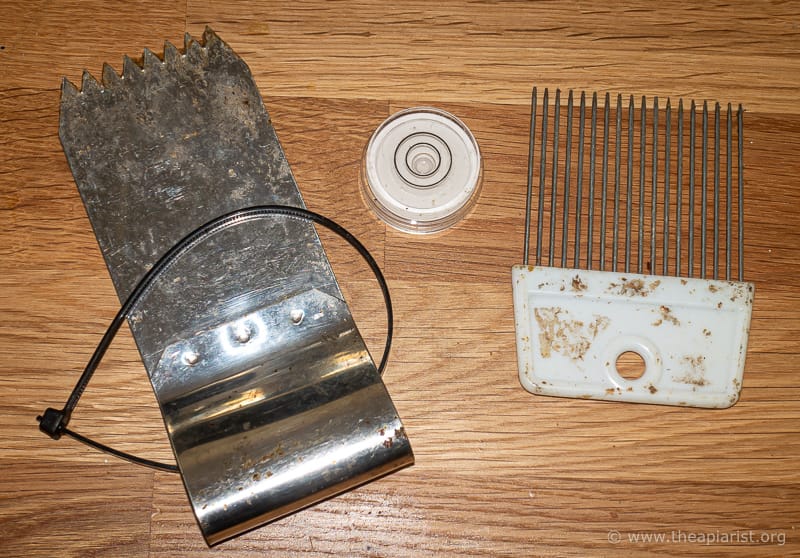
Not needed on a daily basis admittedly, but kept in the ‘daily’ box – QE scraper, level and uncapping fork
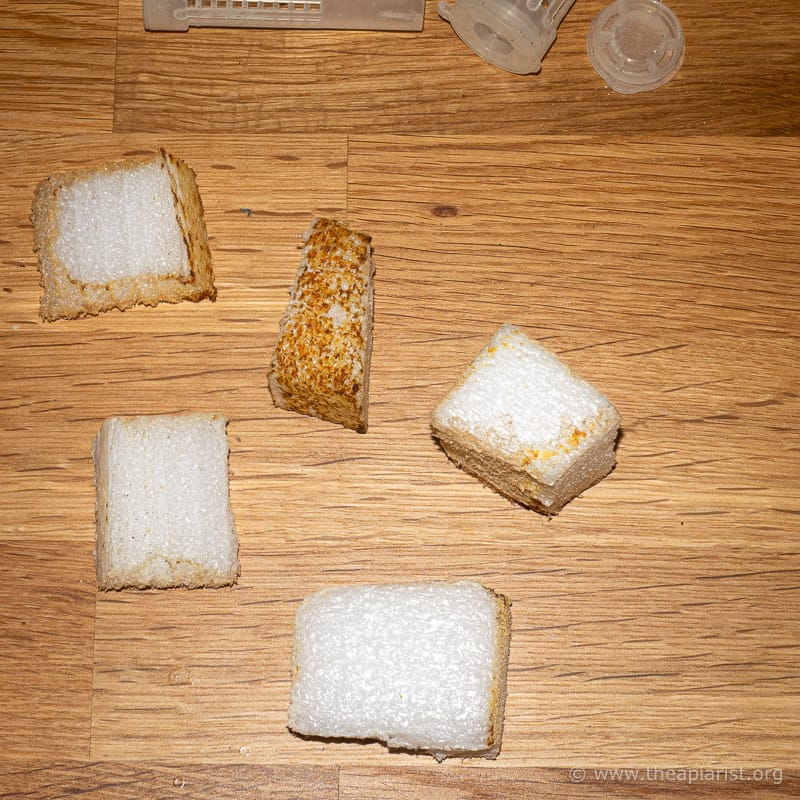
- a selection of closed cell foam blocks to hold frames together when transporting hives. These are simply wedged tightly between the top bar and the sidewall of the hive and thereby minimise the risk of crushing the queen (or other bees) when moving the hive.
- screw cap sample tubes, just in case I see any weird, sick or odd looking bees during inspections
- a couple of JzBz queen cages
- digital voice recorder for taking hive notes
Queen stuff
Since a lot of my season is taken up with queen rearing this box contains both the tools for queen rearing and the used-less-than-daily tools needed for marking and clipping the queen:
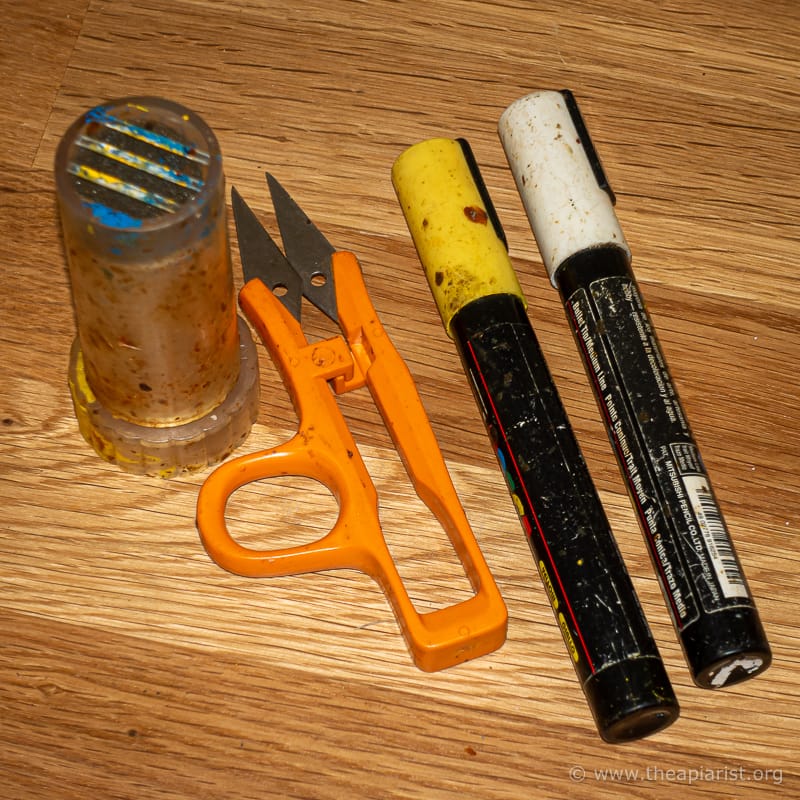
- queen marking cage (I like the push and twist ones best, as you can tell from the amount of propolis and paint covering mine)
- dressmakers snips (Fiskar’s) for clipping the queen. These are very sharp. Don’t leave them in you bee suit pocket or you will get injured 🙁
- Posca marking pens. Check these in the winter and make sure they haven’t dried up or gone super-gloopy. Either outcome makes for frustration when marking the queen. I only routinely use white, blue or yellow and buy whatever is cheapest or easiest to get, and use that colour for the season (or until the pen expires)
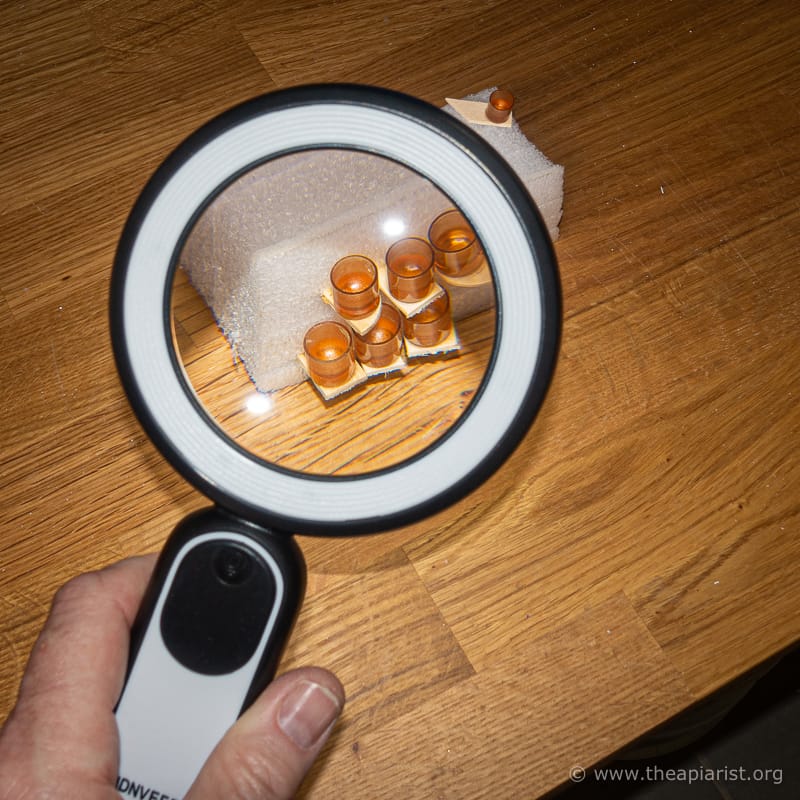
- tools for grafting larvae and, new this season, the cell punches shown above
- USB rechargeable head torch (for use when grafting {{10}} )
- magnifying glasses {{11}}
- more JzBz queen cages and some Nicot cages to protect soon-to-emerge cells
What’s in the bag but not in the box?
Inevitably, not everything fits into one of these two conveniently-sized ice cream containers {{12}}.
The base of the bag contains some folded sheets of newspaper which are used when uniting colonies. Before the broadsheets became the same size as the Daily Mail they were preferable as a single sheet would cover a brood box. Now they’ve been shrunk you have to overlap two sheets.
Or read the Financial Times … and there’s very little point in me doing that 🙁
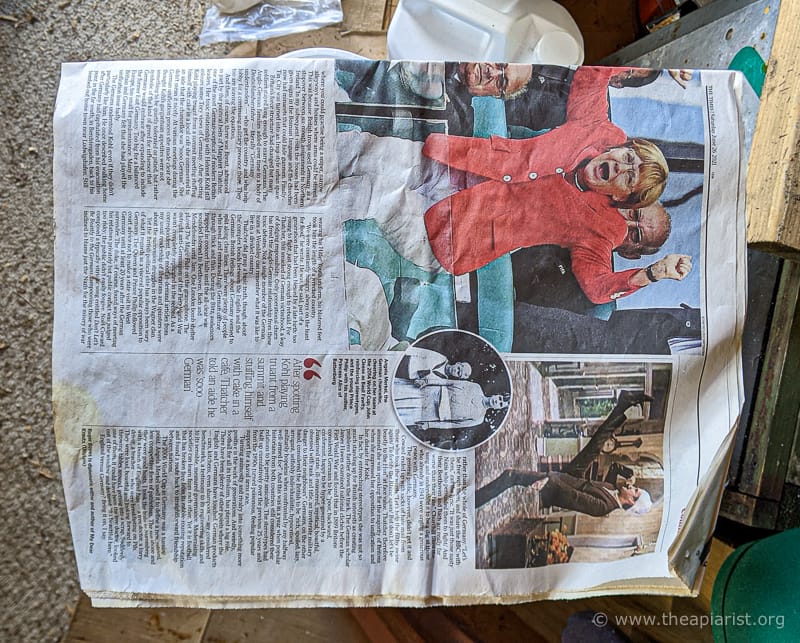
Unstapled newspaper … pictures of an enthusiastic Angela Merkel contrasting nicely with a John Cleese stereotype.
Avoid newspapers that are stapled.
Inevitably when pulling them apart (in a stiff breeze, with an open hive ready to be united) they tear at the staple, increasing your frustration and making you look more like Laurel or Hardy.
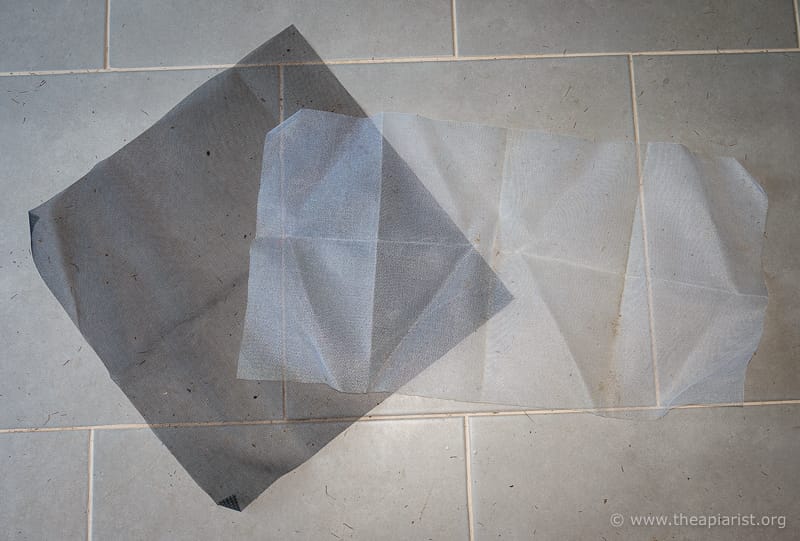
I also carry a couple of pieces of fibreglass insect mesh. This stuff is sold by the metre to cover open windows and so keep mosquitoes out, but is ideal for covering an open hive when moving colonies on a hot day. A Thorne’s travelling screen costs £19.40 and works no better than a piece of this mesh which costs £19 less {{13}}. By some sort of miracle I’ve ended up with two colours of mesh, one for standard brood boxes and one for nucs {{14}}.
I wear gloves while beekeeping so the bag contains a box of disposable long cuffed latex-type gloves for routine use. There is also be a pair of Marigold washing up gloves for any colonies that are a bit rambunctious {{15}}.
At least there should be a pair of Marigold’s in there … something else to order.
I try and keep a couple of hive straps in the bag.
Finally, you can never have enough gaffer tape … so there’s always a roll in the bee bag. It’s ideal for temporarily sealing hive entrances, strapping nucleus roofs down for transport or patching up holes in the bee bag.
Rejects for 2022
Having sorted through the bee bag I collected a small pile of stuff that wasn’t used last season.
In the case of the ‘crown of thorns’ queen marking torture chamber I don’t think I’ve used it for years. I’ve no idea why it was still in the bag. There’s probably more of my blood on the needle-sharp points than there is paint on the mesh … and there’s clearly no point in me carrying it around for another year.
The awful ‘Chinese’ grafting tool goes out as well, as do some JzBz queen cups, a dodgy pink sparkly Posca pen {{16}}, an ill-fitting pair of magnifying glasses and a shonky magnifier.
And that ‘clip catcher’ … again, almost never used.
Elementary my dear Watson
As I slowly approach very (very) early middle age {{17}} my presbyopia is becoming more noticeable. I’ve needed magnifying glasses for grafting for several years and, increasingly, in poor light can struggle to see eggs. Unfortunately, about half my beekeeping is done in sub-optimal lighting … the colonies I keep in the bee shed are easy to inspect, whatever the weather, but the lighting is far from ideal.
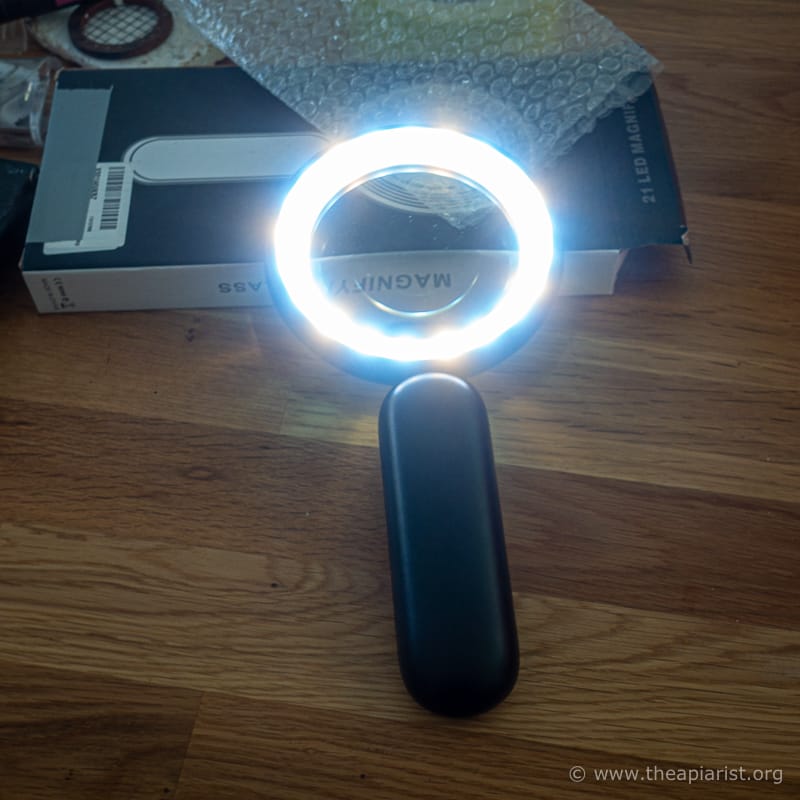
Having chucked out one magnifying glass I’ve found an LED illuminated magnifying glass to try this season. This has a good quality glass lens and a dazzlingly bright set of warm/cool/both LED’s around the rim, powered by a rechargeable lithium battery.
With a choice between wearing reading glasses for all my colony inspections – and inevitably tripping over a super I fail to notice at my feet – or periodically using a magnifying glass if the lighting is poor, I’ve chosen the latter route.
I’ll report back later in the season whether it was the right route to choose.
I’m ready, but the season isn’t
With the unwanted stuff discarded, and the wanted stuff checked and tidied, the bee bag is now ready for the season ahead. I’ve ordered some new Posca pens, charged the magnifying glass and the digital voice recorder …
I’ll probably still look like Fred Karno when I’m floundering around in the apiary, but at least I’ll have the things I need with me.
Unfortunately, it currently looks as though the season isn’t ready for me.
The last 7-10 days have been stunning, but it’s currently 3°C and snowing 🙁
Which is probably fortunate as I still have a couple of hundred frames to build …
Note
I first wrote about the bee bag way back in November 2016. Time has passed, the contents of the bag have changed a bit (though the jokes are largely the same) so that page now redirects here.
{{1}}: Hardy, to be precise, in my case.
{{2}}: Hopefully your notes tell you which of these you need and/or you store them in the apiary anyway.
{{3}}: I think the term ‘bag for life’ was coined first by Tesco, but most supermarkets sell polypropylene reusable shopping bags of the type I mean.
{{4}}: At least, I don’t at the beginning of the season … by mid-September though, all bets are off, and there could be anything lurking in the bottom of the bee bag.
{{5}}: Though I urge you strongly to test those as an example of the wholly unsuitable types of container you should avoid.
{{6}}: At least in such volumes.
{{7}}: The queen is just marked with paint, but the queen number on the outside of the hive tells me – when I refer to my records – something about her provenance. The queen shouldn’t leave the hive unless I move her, in which case the number goes with her.
{{8}}: This certainly isn’t used on every visit, but if you do need to clean a wired QE you are much less likely to bend a wire using this than a hive tool.
{{9}}: Many smartphones have them, but this is more propolis-resistant.
{{10}}: And when working late in the apiary e.g. when moving recently occupied bait hives.
{{11}}: To make me look suitably learned … and to increasingly help me see the cell, let alone the larvae.
{{12}}: That could (but should not) be used as an excuse to buy and eat yet more ice cream.
{{13}}: And it’s a damn site easier to store.
{{14}}: I have a lot more of these sheets, but only carry a couple. If I’m moving a dozen hives – something I’ll know in advance – I get the spares out of stores.
{{15}}: What a great word … ‘uncontrollably exuberant, rumbustious; boisterous, wild, unruly’ and in use since the mid 19th Century.
{{16}}: Don’t ask.
{{17}}: Ahem.

Join the discussion ...