How to : Build a portable queen cell incubator
I probably get more satisfaction from rearing my own queens than any other aspect of beekeeping. Furthermore, I've probably learnt more about bees and beekeeping by rearing queens than from producing tons {{1}} of honey over the years.
When I use the term queen rearing here I'm referring to an active process in which I introduce larvae of the right age to a prepared colony (the 'cell raiser') and rear multiple queen cells simultaneously. Typically, I'll do this by grafting 'day old' larvae.
Once sealed and mature, the queen cells are removed from the cell raiser and transferred to queenless colonies — full-size production hives, 5–frame nucs, or mini-nucs, as appropriate — where the queens emerge, fly from, and (eventually) get mated.
It's an engrossing pastime that keeps me entertained, frustrated, and fascinated — in approximately equal measure — from late April until sometime in August.
Part of the appeal is that queen rearing is not incompatible with honey production.
These are not either/or activities.
My bees are good at multitasking, which is good because it's one of the things I'm hopeless at.
Yes, I probably produce a bit less honey than I could (due to splitting up hives to make nucs), but the fun I have rearing queens more than compensates for the missed 'thrill' of bottling and labelling a few dozen extra jars of honey 😉.
Why not become a sponsor?
This is a very long and detailed post containing full instructions and plans to construct a portable queen cell incubator. The introduction explains why you might want to build one, and some general details of how they are used.
The build instructions, full parts list, and 3D printer files are for paid sponsors of The Apiarist.
Sponsorship costs about the same as large cappuccino month and supports my research and weekly writing, server space, backups, and upgrades. Sponsors receive sponsor-only articles to guarantee bee-related reading every week, and without them The Apiarist would cease to exist.
Long distance beekeeping
For about 6 years from 2018 I lived on the remote west coast of Scotland. It was a gorgeous part of the country, but often unsuited to beekeeping due to the limited forage, high rainfall, and relatively short seasons {{2}}.
But that was OK, because I was still working on the east coast of Scotland (with only ~25% of the rainfall, much colder winters, but better forage and a longer season) and that was where I kept most of my bees.
I shuttled back and forth as needed to run my research group, attend interminable management meetings, inspect my colonies … and rear new queens.
A major fire in my institute, shortly followed by lockdown, enforced 'remote' working, but the bees still needed to be inspected … and I still wanted to rear some queens.

Visits got less frequent, and my colony management techniques improved a lot.
I got pretty good at judging those that could be left another fortnight, or intervening in a timely manner with those that could not.
I often used pre-emptive swarm control to control the timing of things.
This hands-off strategy produced some bumper honey crops.
Perhaps there's a lesson there?
Although I attempted to time my visits for periods of good weather, there were numerous occasions when I was forced to work in the apiary for long days in the rain or wind.
These are the times you're thankful you've selected gentle stock from which to rear new queens 😉.
Queen clipping and brinksmanship provide some flexibility when it comes to colony inspections.
Crossing your fingers helps, but is a lot less reliable than queen clipping.
A day or two leeway here or there was usually possible … the worst thing that can happen is you'll find the 'lost' swarm under the floor of the hive {{3}}.
In contrast, the queen rearing schedule has very little 'wiggle room'.
16 days
The development cycle of a queen takes 16 days from the egg being laid until the queen emerges.
The larva hatches at 3 days, the pre-pupa in the cell is capped at ~8.5 days, and the queen emerges on day 16 (all times relative to egg laying).
If there is any variation, it's in hours, not days.
All my queen rearing then involved grafting 'day-old larvae' into plastic queen cups which were presented vertically in a queenless or queenright cell raising colony. Most of my queens are still raised like this.
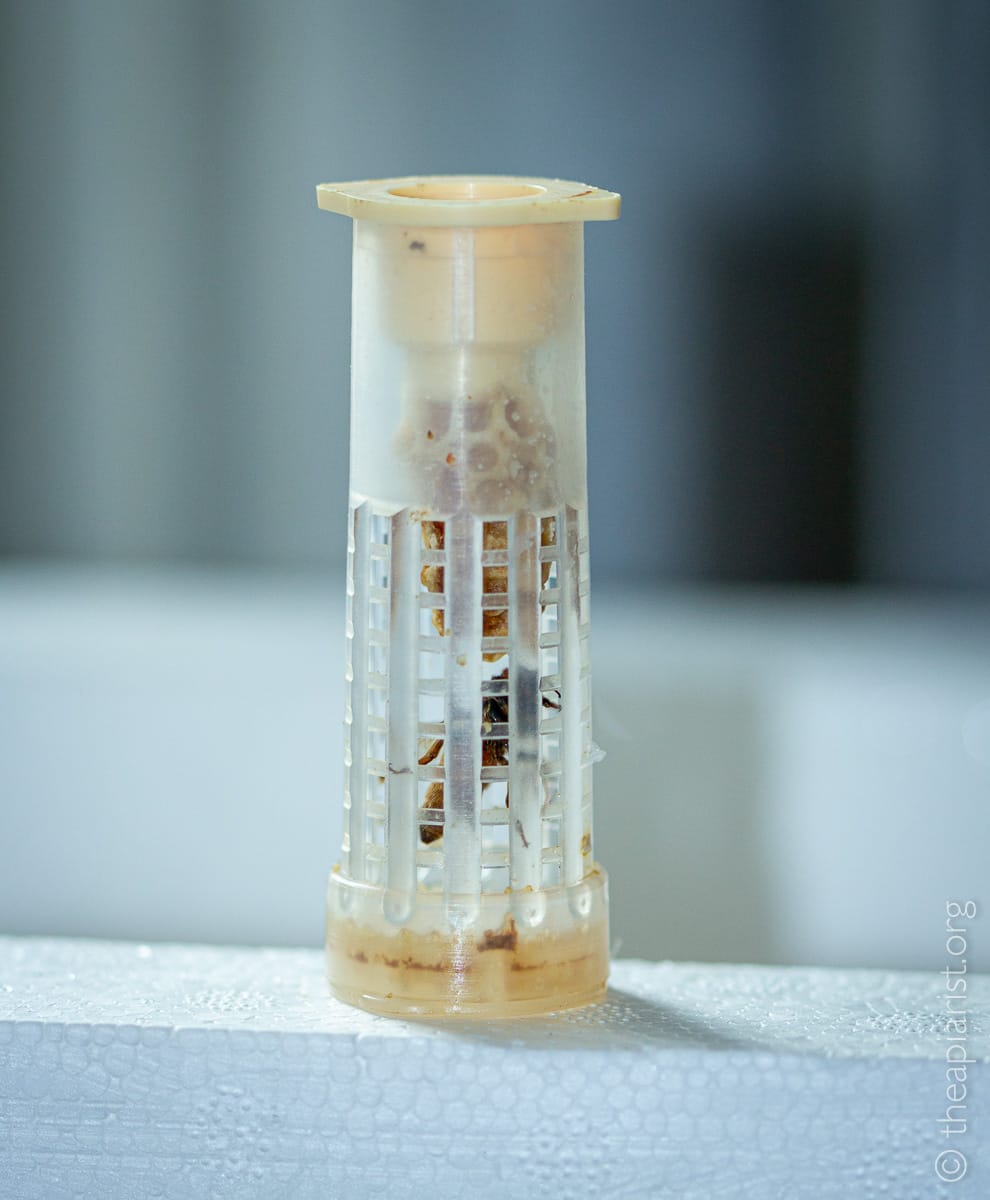
Soon after the cells are sealed, I place cages over them for protection.
What am I protecting them from?
The term 'day-old larva' is actually a convenient abbreviation for “the youngest larva I can see and transfer (without damage) to a plastic queen cup”, and is more accurately 12–18 hour old larva, rather than the 24 hours implied by the name.
However, since the queen development cycle is effectively invariant, if I instead select a 24–36 hour old larva — due to bad eyesight, poor light, or lousy judgement — she will emerge up to ~24 hours before her half-sisters in the same cell raising colony.
So, the protective cage is used to prevent an early-emerging queen from slaughtering the other queens in the same batch.
During the week or so that the cell is caged, the colony keeps the pupating queens warm, but nothing else … there's no feeding to be done (the cells are capped), and the 'sculpting' you sometimes observe of the outer wall of the cell is cosmetic {{4}}.
However, during this week, the cell raising colony is in an 'occupied-but-unusable' state. They've done their bit, but I'm not able to rear a second batch of queens in the colony until the first batch are removed {{5}}.
Short seasons
Here in Scotland we have a relatively short beekeeping season and some (though less than you might think 😉) inclement weather.
I therefore practice 'little and often' queen rearing. This suits me, my bees, and the climate.
Rather than adding 30 larvae at a time into a towering cell raiser, I do them in batches of 8–10 {{6}}. If lousy weather wipes out one batch of mating queens, like buses, there will be another along shortly.
This approach also requires fewer bees overall, and extends my involvement and interest in queen rearing for much of the season.
However, if the weather is good, that week-long hiatus (between caging the cells and using the queens) is frustrating … and could be considered a waste of time missed opportunity.
Which is where a queen cell incubator comes in very useful.
Since the cell raising colony is 'just' keeping the cells warm for the final week of development, that role can be fulfilled by a temperature- and humidity-controlled incubator.
The cells are transferred to the incubator a day or so after capping, maintained at a steady 34.5 °C and ~70% humidity, and added to mating nucs 24 hours before emergence.
Alternatively, you can let the queens emerge in the cages in the incubator, feed them dilute honey for a day or three, and subsequently introduce them as virgin queens to mating nucs.
All of which means you've saved a week, and can add another batch of freshly-grafted larvae to the cell raising colony for the next round 😄.
Portable
A decade or more ago I used my honey warming cabinet (HWC) to incubate queen cells. I'd bring the cells home from the apiary in an insulated box, transfer them to the HWC, boosting the humidity with a piece of damp cloth in a shallow bowl.
It worked, but it was inconvenient.
And, once I was beekeeping on the east coast of Scotland, but living on the west (a long 4 hour/150-mile drive apart) this became impractical. My HWC was about the same size as my car, and it required a 240 V supply {{7}}.
What I needed was a portable incubator for the cells that I could take with me … and bring back again. I could start another batch of queen cells in the cell raiser (so making the best use of my visit), and return later with the mature cells (or virgin queens).
Since I travelled back and forth by car, it made sense to base everything around a 12 V supply; not only is this universal in cars (the cigarette lighter socket for example, or many USB-C ports in newer/fancier cars), but it also meant that my shonky electrickery was less likely to result in electrocution or self-immolation.
I posted details of version 0 of my portable queen cell incubator in July 2021 {{8}}. It was a bit primitive, but just about worked. That post is perhaps more notable for the background information it contains on the temperatures needed for queen development.
In the 2021 season I designed and built a much-improved queen cell incubator (version 1) which I wrote about in November that year. That worked well. In fact, it still works well. However, it's a bit ugly, and was too small (even for my limited needs).
I was convinced that I could improve things; in terms of increased capacity, better temperature control, and enhanced appearance and robustness (largely by bundling the electronics inside the box).
Having discovered 3D printing ~18 months ago I set about designing and building version 2 last winter. I described it in April this year, and have used it extensively this season.
It has worked extremely well, and — so far 😉 — I'm not sure that there's much that could be improved (at least for my beekeeping).
Efficiency
With good organisation, suitable colonies and more good organisation, the use of a queen cell incubator almost halves the time the cell raising colony is occupied.
Or, to put that another way, you can get roughly twice the number of queens produced in the same time.
However, the flexibility it provides is as valuable to me as the potential to generate extra queens.
When I was living 150 miles from my bees, I could bring caged cells home, and take a box of virgin queens back on my next trip, without needing to make an earlier trip timed for the day before emergence.
I'm now just 10 minutes from the apiaries. However, the ability to produce a couple of rounds of queens in a 'good weather window' is invaluable, and means I don't need to keep multiple cell raisers running simultaneously.
Design
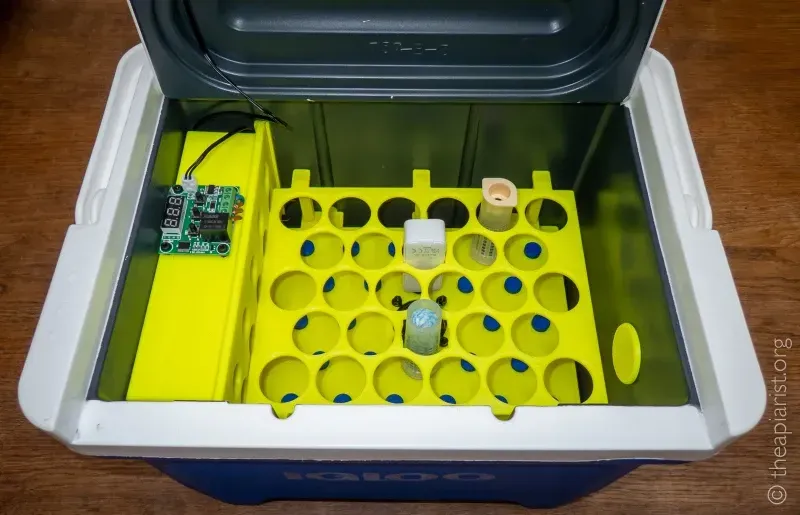
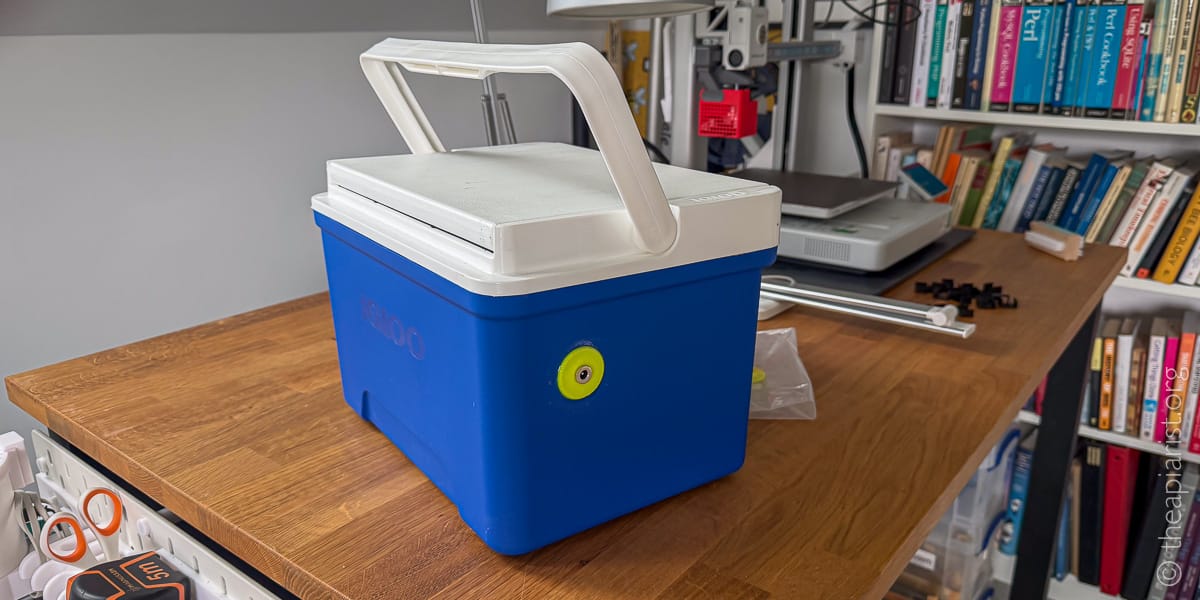
The queen cell incubator consists of an insulated box containing sources of heat and humidity, a fan to circulate air, and a rack to hold caged queen cells (or queens).
It's intended for the Nicot system cages as these are much better designed than JzBz equivalents {{9}}.
The heat source and fan operate at 12 V DC. The fan runs continuously when power is supplied. Heating is discontinuous once the chosen temperature (typically 34.5 °C) is reached, and is controlled by a digital thermostat temperature control module.